Part 1 of this series provided an overview of this massive project, with some notes about the problems we ran into.
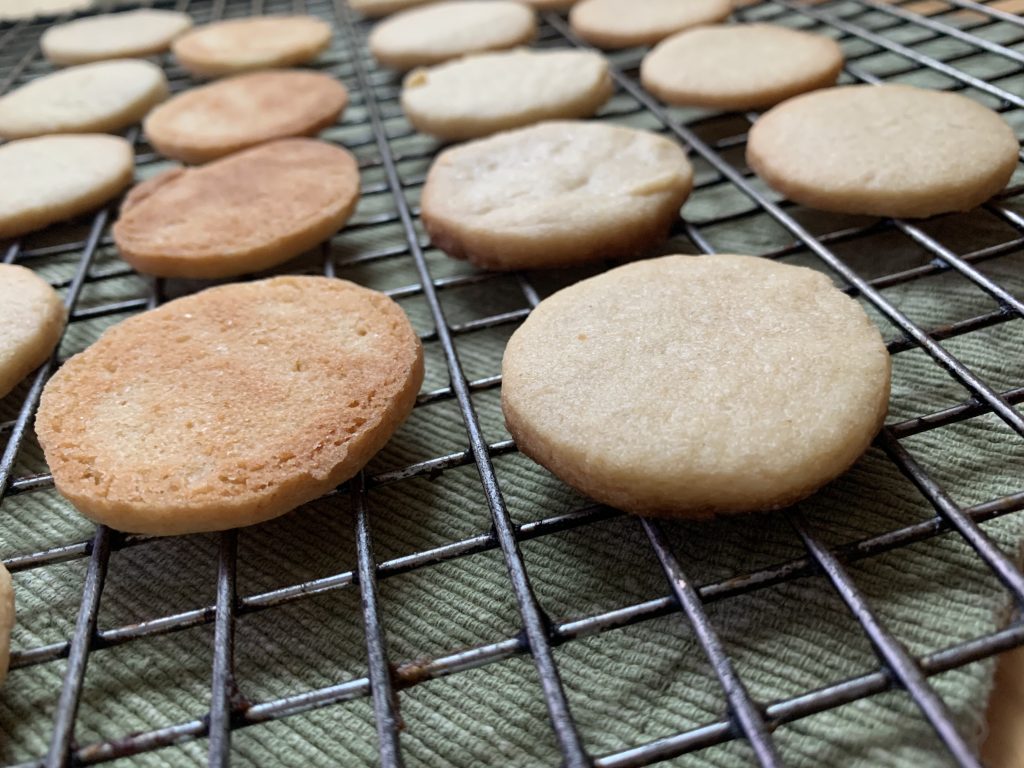
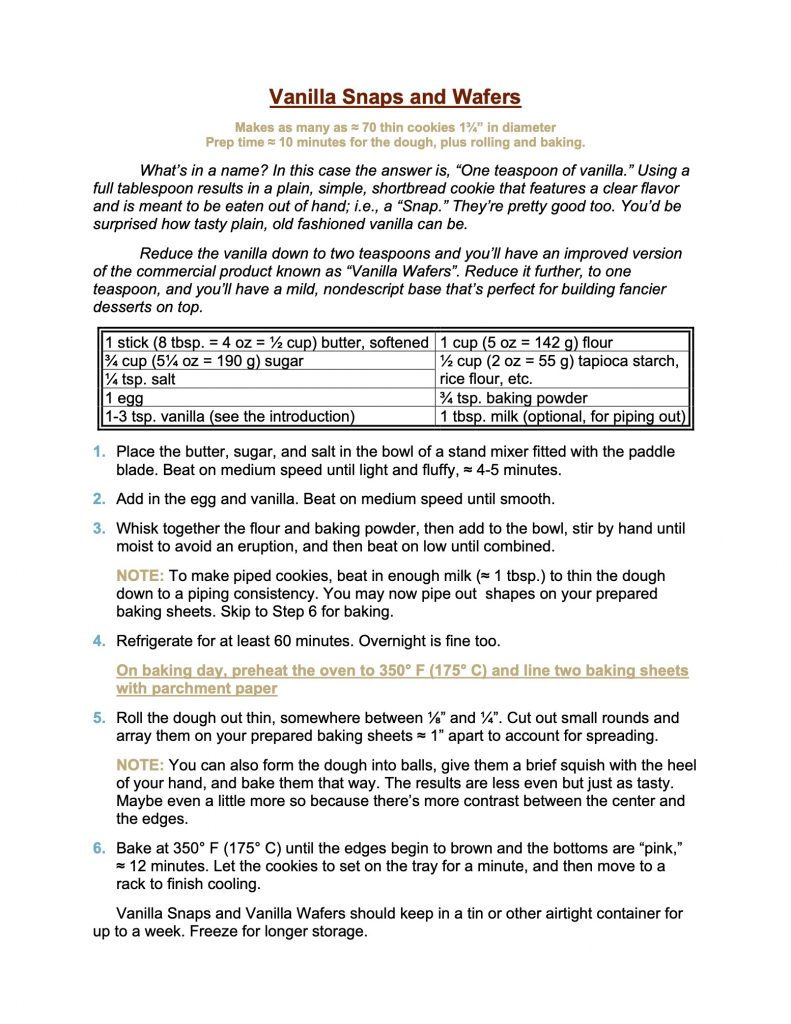
Part 2 listed several recipes we developed for different cookie bases: Vanilla, Spice, Graham Cracker, and Shortbread. You can also use a thin cake round, but we left that one out because this is, after all, a project devoted to heritage cookies.
This Part 3 examines the two main approaches to creating a marshmallow filling. There is a third approach too, for fruit-based Zefir marshmallows, but I’ve moved that discussion over to its own Part 5.

As always, skip to the bottom if you only want the recipes. The rest of this article digs into the process behind those final results.
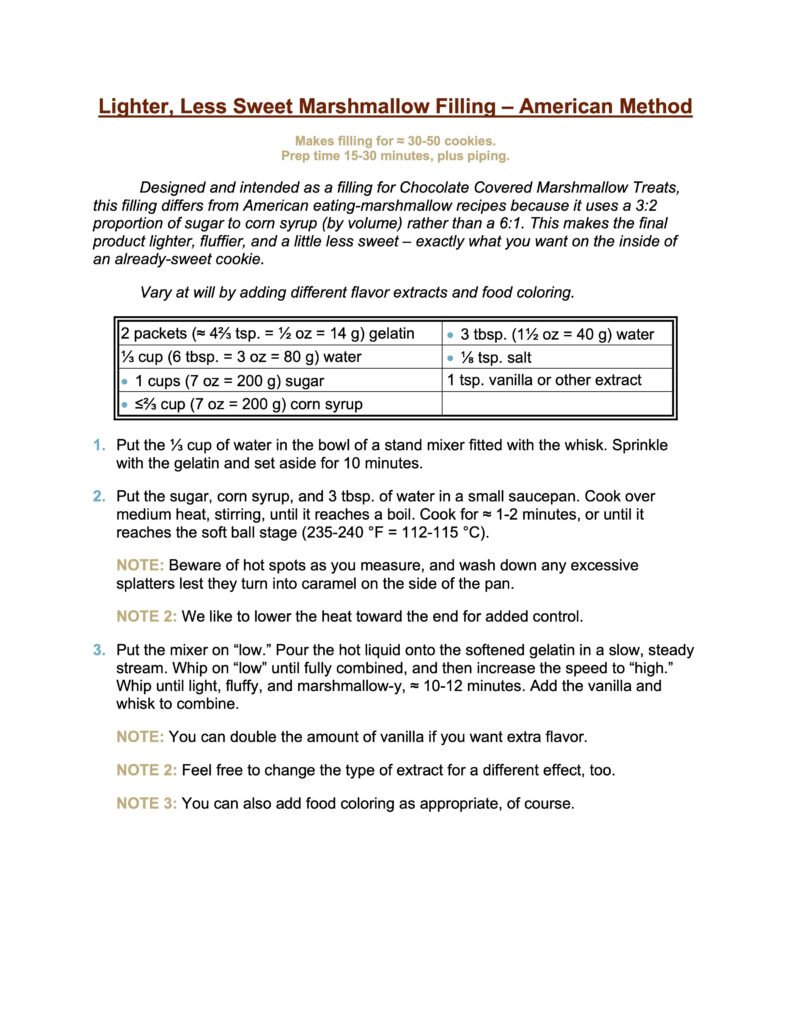
The Internet offers a metric ton of recipes for homemade marshmallows, most of which work pretty well. They’re the world’s easiest candy. Basically:
- Start with a thick and sticky substrate (made from the marshmallow plant in antiquity);
- Heat a sugar syrup to the soft ball stage (235‑240 °F a/k/a 112-115 °C), using a combination of table sugar (sucrose) and corn syrup (glucose) syrup to prevent crystallization; and then
- Whip the sugar syrup into the substrate until it balloons up to create fluffy marshmallows. These can be piped while warm, or else cooled in a pan to make cut-out eating marshmallows.
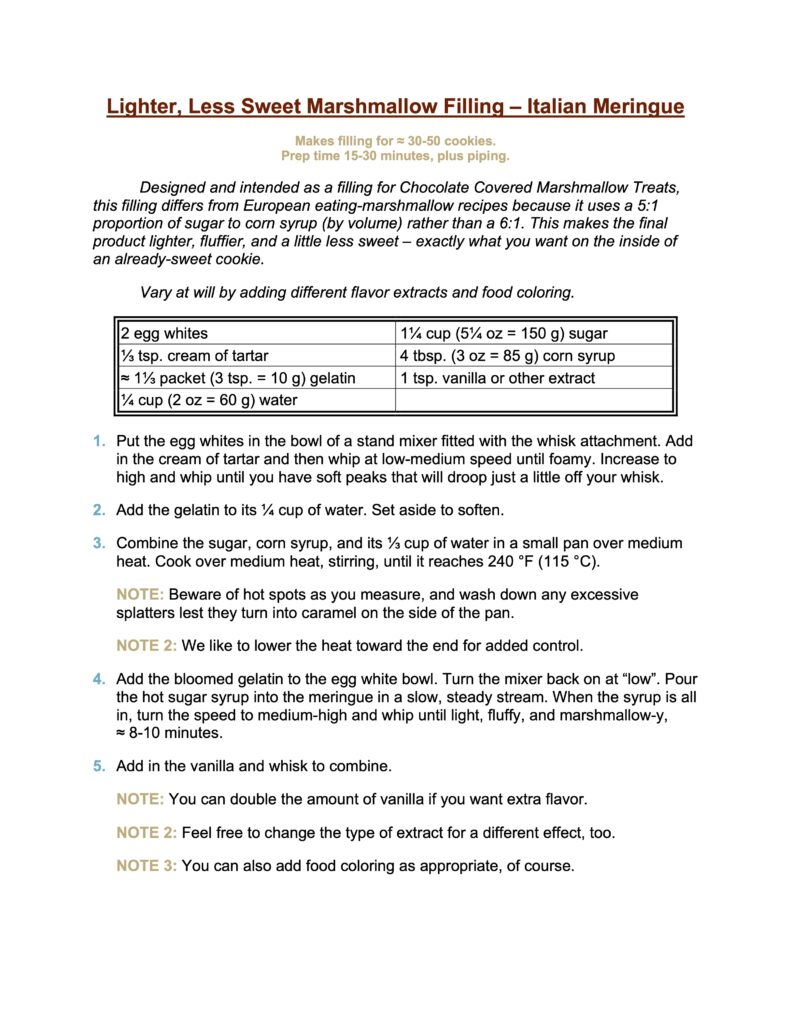
The American version uses a lot of gelatin to make that sticky substrate. The European version uses whipped egg whites with less gelatin; i.e., is a gelatin-strengthened Italian Meringue. NOTE: French meringue is egg white whipped with sugar; Italian meringue is egg white whipped with hot sugar syrup; and Swiss meringue is egg white heated to around 170-175 °F (76-79 °C) before being whipped. Swiss is stiffer and more stable than Italian, which is stiffer and more stable than French.
Problem #1: The filling was denser and sweeter than we wanted.
Think of a classic marshmallow you eat out of hand. They have a distinct chew to them, right? It’s part of the appeal. Now think of that chocolate covered marshmallow treat you grew up with. Much less chewy! And a bit less sweet, because flavor also comes from the cookie base and the chocolate topping. The The cookie would not be perfect until we got a handle on the problem.
Fair enough, but how do you change a marshmallow recipe to achieve those targets? It can obviously be done – the commercial products prove that – but we had to figure out how. And that was a major pain in the whosis, because our expertise on the baking side did not extend into this kind of candy making and sugar work.
The first and most obvious solution (cutting cut back on the amount of gelatin) proved to be impossible. Cut back too far and the structure dissolves rather than getting lighter, and I could not fidget my way into a perfect balance because kitchen scales only have so much precision. Plus the marshmallows were far too sweet for this use, and cutting back on the sugar too created other textural issues. I fought this problem for months, and ended up with a pair of solutions that work hand in hand.
Kate gets 100% of the credit for the first. She noticed that our trusty stand mixer began to really strain as the marshmallow mix cooled down. Part of this came from how the filling thickened as it cooled, but the overflowing bowl factored in too. Her solution? Shrink the recipe by a third. Huge difference. The lower volume resulted in a fluffier marshmallow because the machine wasn’t slowing down, and also because the bowl had extra room to accommodate it.
I claim credit for the second solution. I posted the question on some Internet groups/boards, and no one seemed able to help. All I got were suggestions for vegan substitutes that could be used instead of gelatin. That wasn’t the issue! Vegan shmegan; I just wanted to know what was going on in the chemistry, and how to adjust it. One long-suffering volunteer finally burst out with, “maybe you should take a food science class or two.”
Ding ding! For some reason I’d done all my Internet searches using the words “chemistry,” “physics,” and descriptions like “fluffier” and “denser.” I’d never done one using the term “food science.” Why not try? I did, and up popped this lovely article on a project for grade school science teachers: “Sweet Science – Making Marshmallows.” I urge you to read it, but here’s a quick summary in case you want to save some time. Loosely translated, the project reads as follows:
“Have your students make marshmallows with different proportions of sugar to corn syrup, and then measure the characteristics. They’ll find out that more sugar equals a denser and sweeter product, while a higher ratio of corn syrup reverses that. Then you can let the kids eat their experiment, and send the sugared-up darlings off to some class with a colleague you don’t like.”
Okay, I added that last last sentence on my own. But look at what it says! Lighter, and less sweet. Exactly what I wanted. We did the experiment; it worked just as predicted; and the results now appear in the recipes below.
Plus there’s this: Now you have the power too! By way of reference, American eating marshmallows have a sugar:syrup ratio of 6:1 by volume. That’s now at 3:2 for the cookie filling, which coincidentally works out to just about 1:1 by weight. This is just about perfect for us, but you can fuss with it to your heart’s content to find the proportion that’s perfect for you. Tastes differ. Though it must be said that we achieved a texture so “right” that our testers actually singled it out for special compliments! Yes, you really can tell.
Problem #2: Piping the Marshmallow was a P.I.T.A.
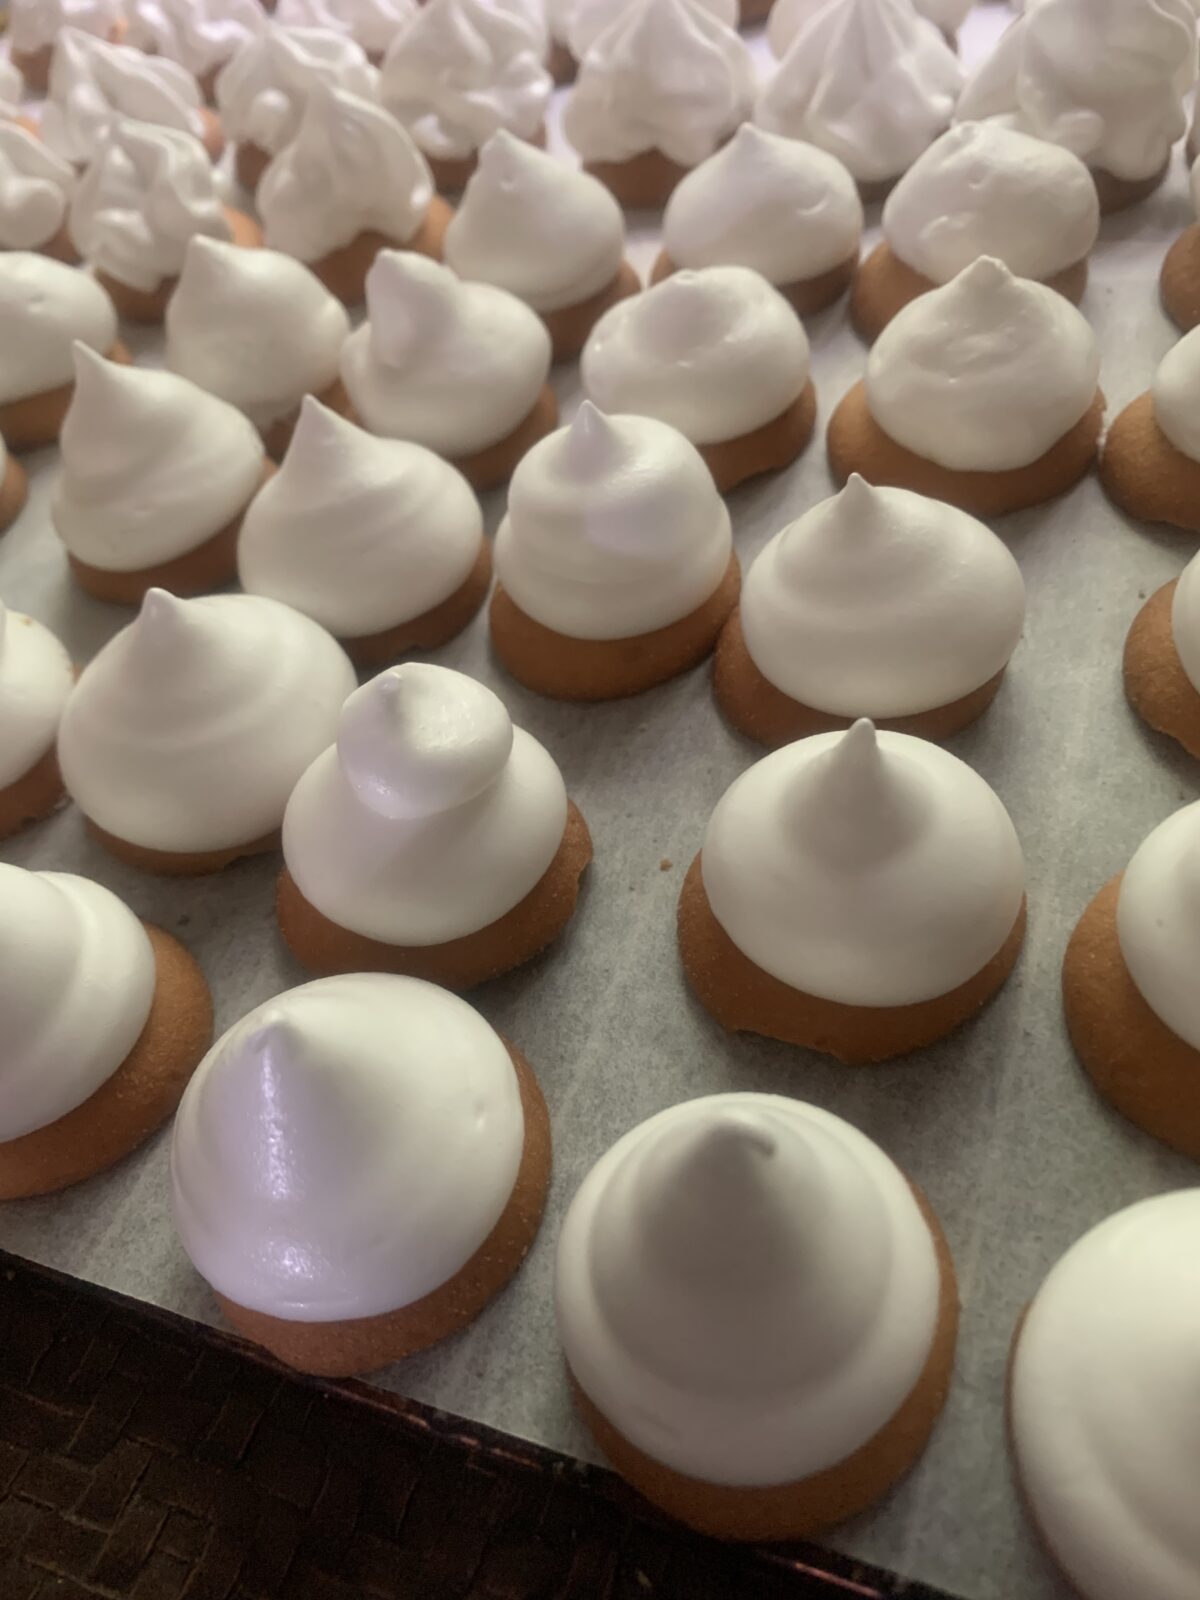
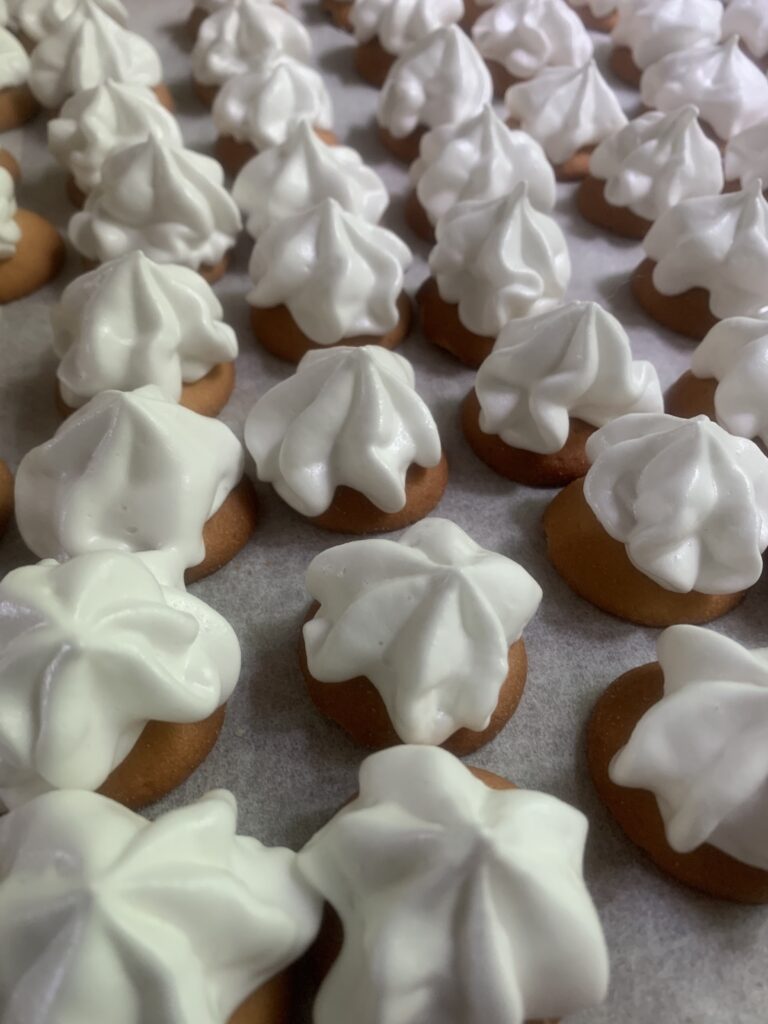
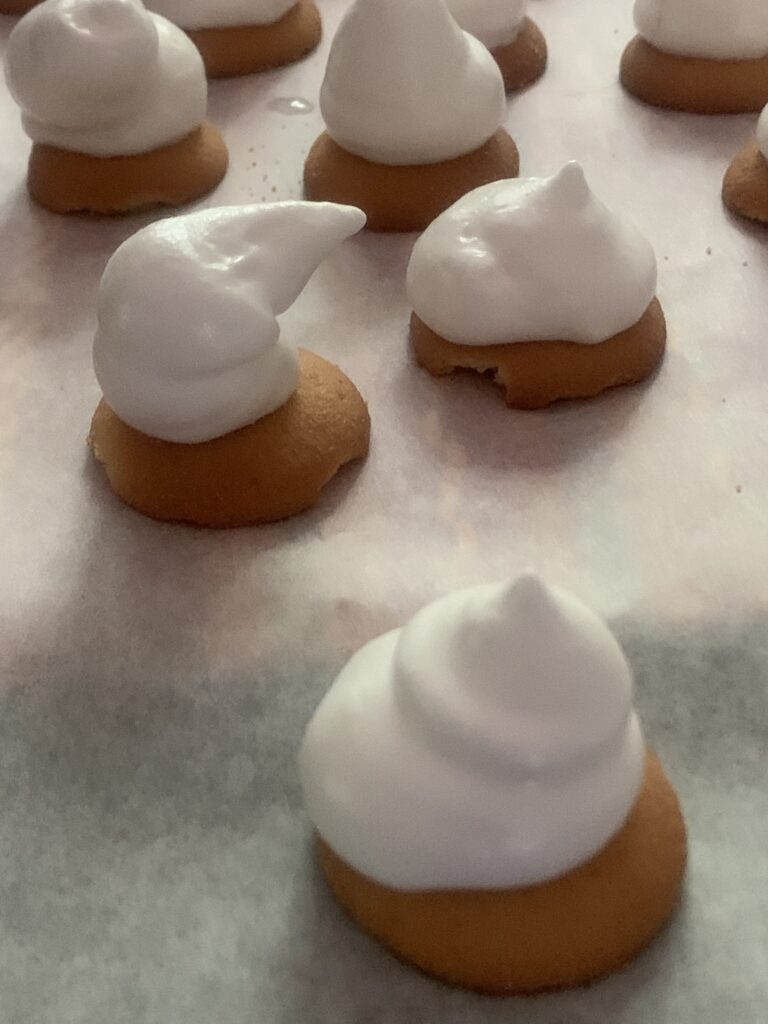
There’s no easy way to say this. I suck at piping. And that is a problem because this is a recipe where you need to work quickly. Cooled marshmallow filling stiffens, is harder to pipe, and tends to mound up unevenly instead of covering the whole cookie in a pretty layer. Nor does it help that our biggest piping bags are “mediums” on anyone else’s scale. Even the reduced recipe required us to refill the bag two or three times, which led to the filling cooling off that much faster, and becoming that much… You get the idea.
In the end I found three solutions that worked pretty well.
- Scott’s Solution. Rope in Kate or a daughter to cover for my sorry efforts. This works perfectly, and I recommend it highly.
- The Doh! Solution. Buy a bigger bag. Maybe next time. They aren’t as easy to find as you’d think.
- Solution #3. Prepare two or three of the medium-sized bags before you start to pipe the cookies out. This saves a few critical minutes, and also lets you use more than one tip.
Yes, I am overselling the difficulty a bit. Anyone with the right tools and some basic skills won’t find it as challenging as I did. The multiple-bags approach also solves a lot of the problem, and the cookies taste just as good even if the marshmallow cools enough to come out lopsided. Still, forewarned is forearmed. Be ready to pipe as quickly and efficiently as you can; and/or to laugh at your funky shapes.
Problem #3: The Infinite Variations
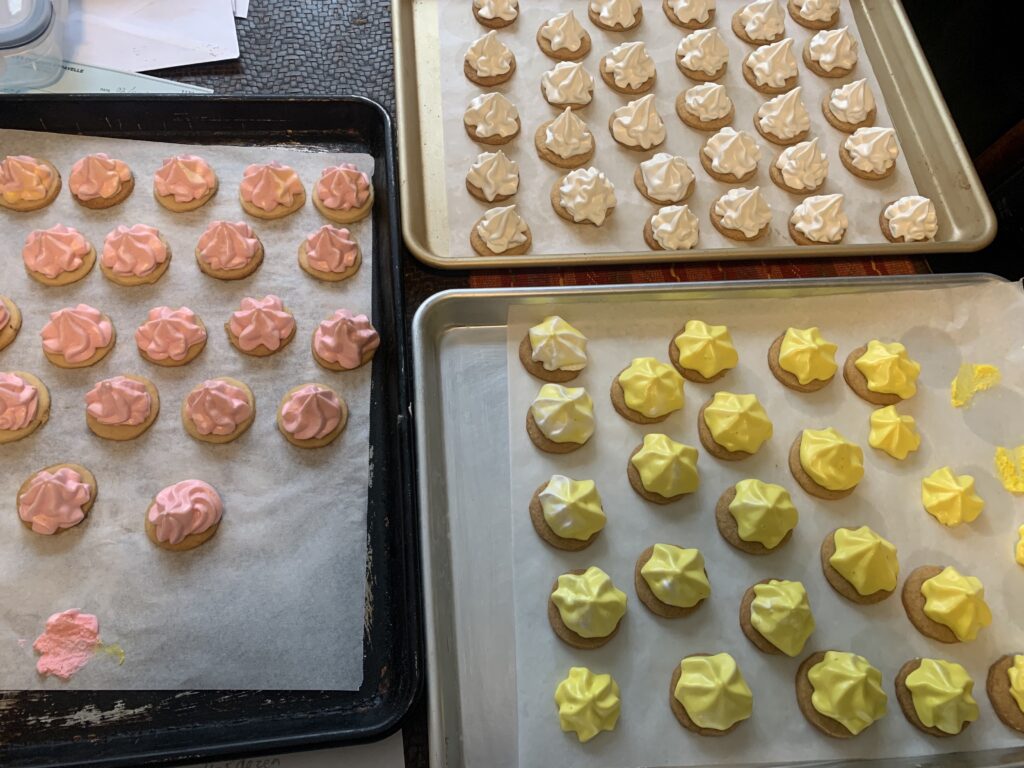
Continuing the theme from Parts 1 and 2, the marshmallow filling can also be varied in as many ways as your imagination permits. And it’s super simple to do!
So-called “plain” marshmallows are flavored with vanilla extract. An even teaspoon works perfectly at these amounts. “Flavored” marshmallows replace the vanilla with with any extract and/or food color that’s buried in your spice cabinet, and that same 1 tsp. will do the job just as well. Lemon, rose, rum, banana, coffee, mint, almond… there is some place in the world where that flavor of marshmallow is a beloved favorite sold in stores. I recommend some color coding to avoid frowns of confusion, but it really is that easy.
Spices work too but we found that spiced cookie bases were easier to control. Marshmallows have a ton of air, and adding enough spice to provide solid flavor can make them a little gritty.
Fruit flavors are a little different. The extracts work fine for a properly artificial flavor reminiscent of commercial products, but you can also get The Real Thing by making Zefir instead of a classic marshmallow. Talk about intense essence of fruit…! But that’s getting ahead of myself. I moved that discussion to Part 5 for very good reason, and you’ll simply have to wait.
CONCLUSION
It took some serious work and research to nail down the filling part of this cookie, but that really came down to exploring things at the food science level. [It had nothing to do with me being obsessive, no matter what my piping assistants may say!] If you follow the recipe below – either one – you will find it quick, easy, and effective. You’ve got your wheel, and there’s no need to recreate it.
So where are we at?
- Make a simple cookie base, flavored in any way you can imagine.
- Pick your choice of marshmallow approach, and flavor it with any extract or liqueur in your cabinet by substituting 1:1 for the designated vanilla, and color coding with a touch of food dye.
- Pipe your marshmallow creation onto your choice of cookie, using your choice of piping tip.
Bing, bang, boom. You’ve got these Chocolate Covered Marshmallow Treats 70% done. All that remains is coating them in everyone’s favorite darkest-brown food of the gods.
THE CHOCOLATE MARSHMALLOW TREATS SERIES
Part 1, The Chocolate Marshmallow Treat Overview
Part 2, The Cookie Base Options
Part 3, The Marshmallow Filling Options
Part 4, The Chocolate Coating and Finishing Options
Part 5, The Strange New World of Fruit-Based Zefir Marshmallows