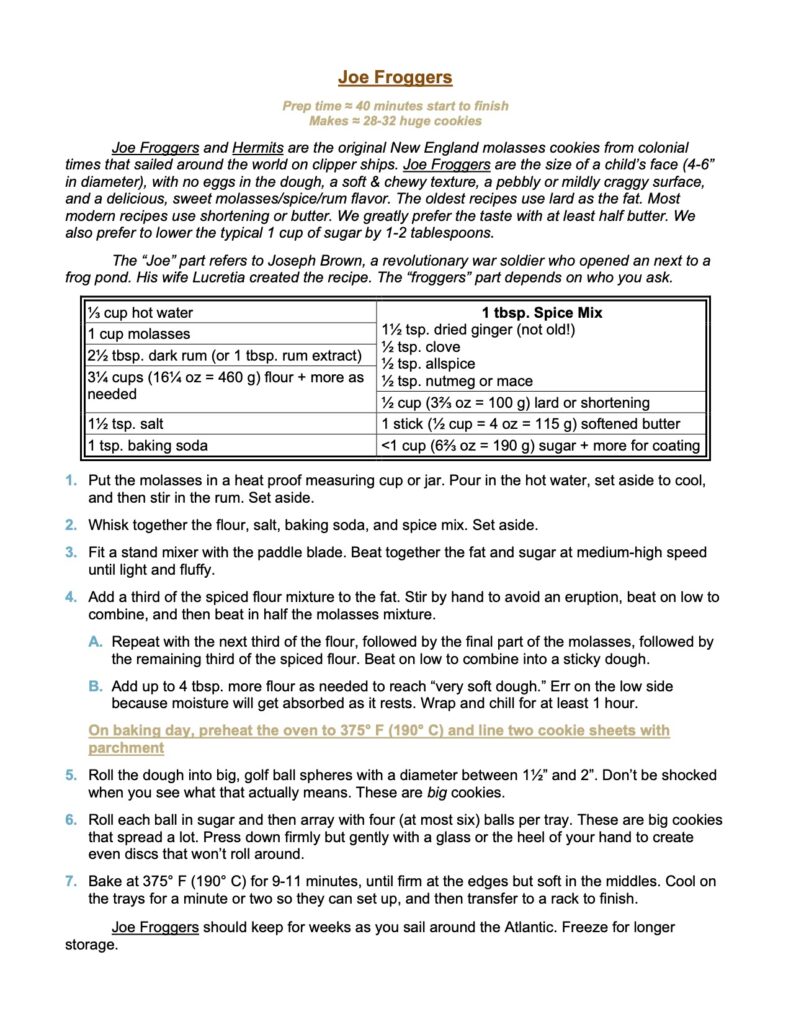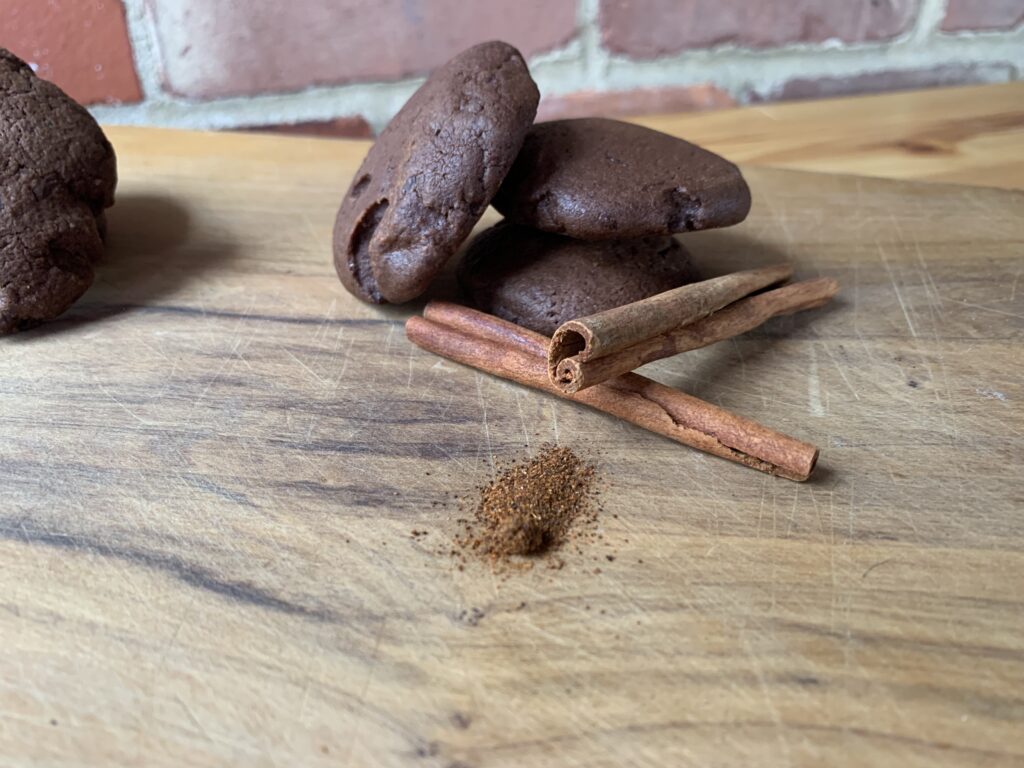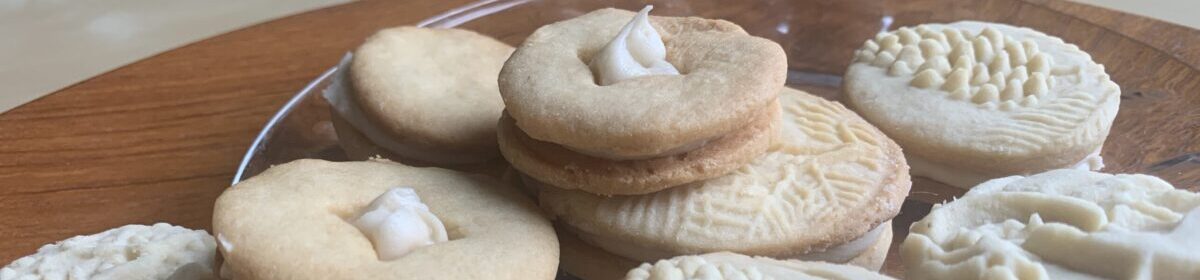
BERGER COOKIES, Baltimore’s Worthy Passion

The great cookie of Baltimore

Certain cities around the U.S. have regional cookies that send expats into ecstasies of nostalgia when they come across it again. New York has Black & Whites; our native Pittsburgh has Kauffman Thumbprints; the deep south has Southern Tea Cookies; and Baltimore has this cookie, which was created in 1835 by the immigrant owners of Berger’s Cakes & Cookies.

Regional loyalty commands us to at least make a show of disdaining all things Baltimore, so we need to say this quietly. [*Hushed voice* It’s a darned good cookie.]

NOTE FROM KATE: When I feel like yanking Scott’s chain, I root for the Ravens. He knows that I’m not a hardcore football fan, but he falls for it like Charlie Brown regardless. The Baltimore Ravens are, in fact, a really good team. And these are, against my expectations, really good cookies!

Overview

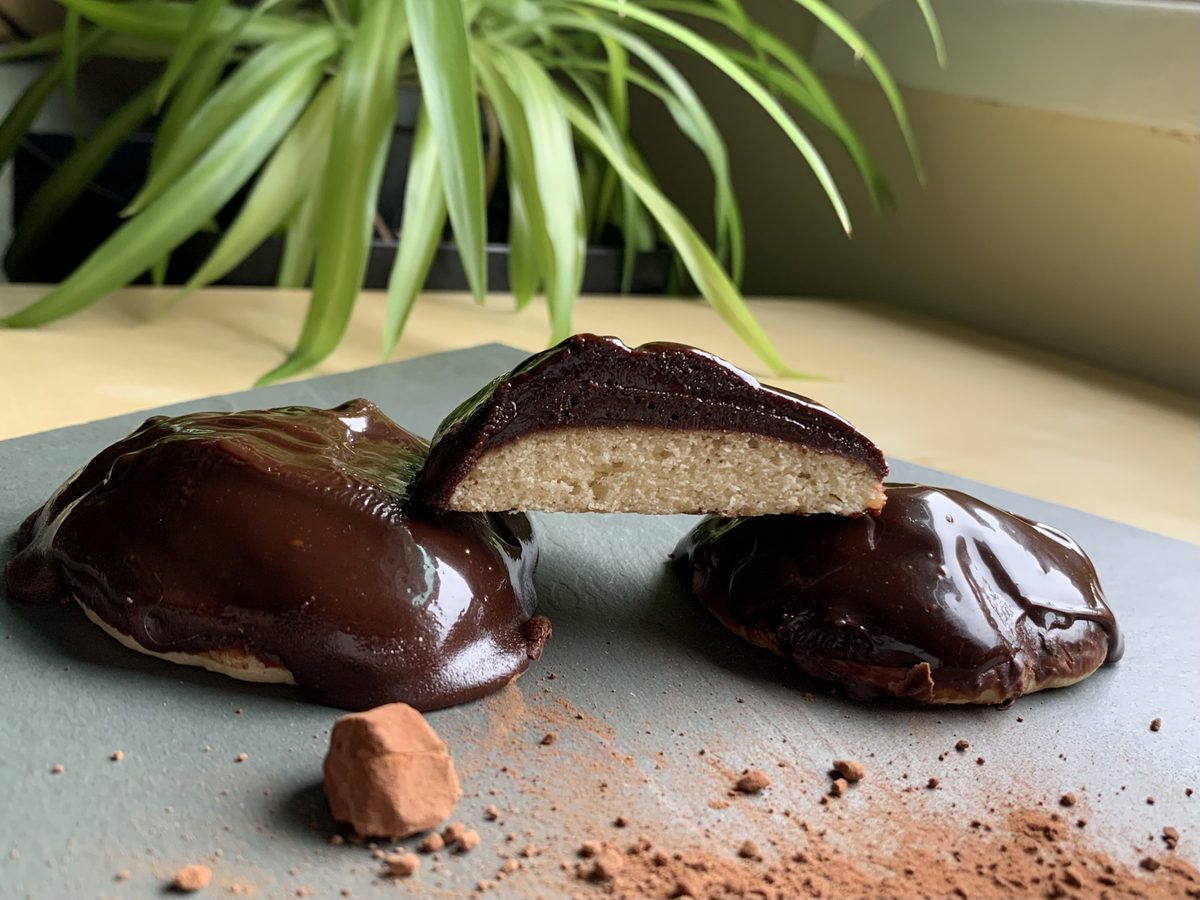
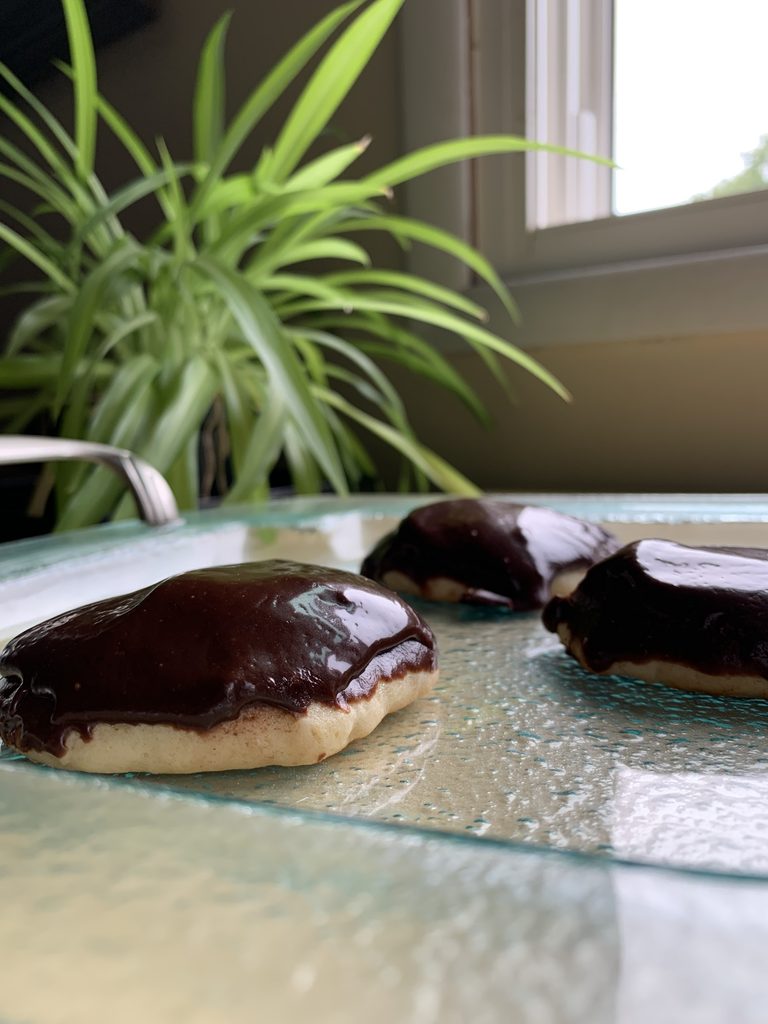
Berger Cookies are easy to describe. Coat a dense, relatively plain, somewhat chewy shortbread with dense, fudgy frosting as deep as the cookie is thick. There you have it! A four-bite treat that sends children of all ages into rapturous sugar highs. Simple, right? It ended up being tougher than it seemed.

Scott compiled an initial test recipe based on a more than a dozen online versions, made it, and… Both of us immediately knew that something wasn’t right. The cookies were good, yes; but only that. They lacked that mysterious extra that could create a 200 year old cult following. We tinkered with a second batch, then a third, and then… Then we called for help from a Baltimore friend. “Could we bother you for a box of the real thing when we meet at next month’s foray?”The whole sorry tale appears down below, but that was the literal aha! moment. “So that’s what these are all about!”

We couldn’t have done it without you Sam!

This Recipe Is Nailed

Every almost-final test you’ll read about below got compared to actual, from-the-store Berger Cookies before we moved on. Where possible they also got tested by Baltimore natives for reality checks beyond our own palates. And then we went to the extra effort of nailing down two versions of the frosting, because online sources split evenly between those approaches.

You won’t find a better version because there isn’t one. This recipe is r.i.g.h.t.

ASIDE FROM SCOTT: The most recent test-by-native happened a few weeks ago at a meeting of our local mushroom club. A request went out for Baltimore natives to please see Scott, because he needed them for an experiment. A hand went hesitantly up, and I hurried over to grab her. A certain amount of caution filled her eyes. “I’m not in trouble, am I?”

I had to laugh. “Exactly the opposite. I just need you to confirm we’ve got this right.” I circled behind the ID table, reached down, and popped the lid on my test-cookie tin. Her eyes grew wide. “BERGER COOKIES!!”

She went from trepidation to glee in a nanosecond, and one of my samples appeared in her hand like a magic trick. Then she took a bite and the expression turned to rapture. “Hello?” I called. No answer. She just stood there, smiling gently like a child in a dream. ‘That’s a good sign,’ I thought. “Hello? Can I call these certified by a local expert?” Her eyes opened at last.

“Oh my god, yes. They’re perfect! I haven’t had a Berger Cookie since…” Two friends looked over her shoulder to ask what was going on. Three more cookies vanished from the tin as they walked away. “When we were kids these were the thing we all…”

She did share them, in case you were wondering. [Laughs] I’m telling you folks. Cookies have a magic like nothing else.
The Cookie Part

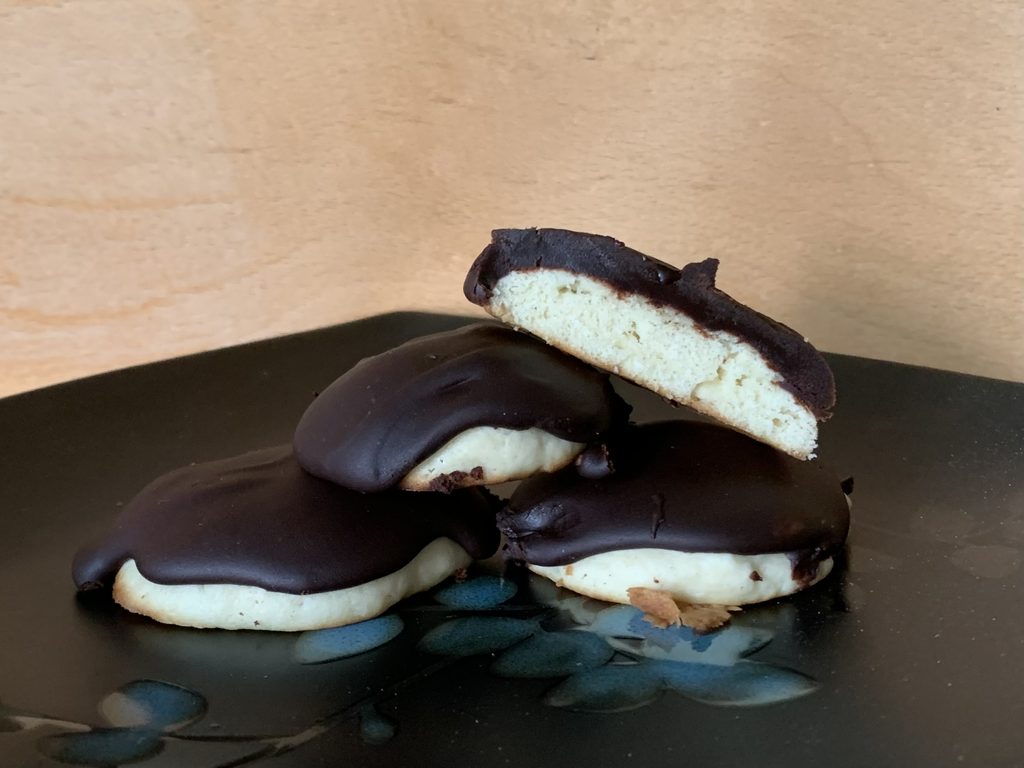
The base came together quicker than the frosting, which makes sense because it’s the velvet dais that puts the jewel on display. There were only a few notable features that required attention. First, the cookie base is quite plain, with a surprising amount of browning on the bottom. It also has some vanilla to accent that browning and it’s quite chewy, which distinguishes it from other 4-bite cookies like NYC Black & Whites.

The online recipes provided an admirable jumping-off point that only required a couple of fidgets. We eventually cut the baking powder in half, from 1 tsp. down to ½ tsp. (for more chew); and we increased the oven from 350 F (175 C) to 375 F (190 C), which increased the browning. All the real work went into that all-important layer of fudge on top.

NOTE FROM KATE: This dough handles best with slightly wet hands. Measure out your ball, roll gently, and then squish it onto the parchment. Start from around 1⅓ tablespoon per ball, and aim for around 1½” (4 cm) in diameter). It’s okay to have imperfect and lumpy-looking balls. To me that is a feature, not a bug! You’d almost think the cookies were made by a human and not generated by AI. Besides, those same lumps magically even out as the cookies bake in the oven.

Frosting, Frosting, Who’s Got The Frosting?

Iced on top, versus iced on the bottoms, because that’s what you do with NYC Black & Whites. Tops are correct. And yes, the icing is this thick!

NOTE FROM SCOTT: Apologies for the length, but we endured something of a saga filled with not-quite-there moments. I try to touch on each in case you find thm useful. Feel free to skim.

Berger Cookies feature a dense, sweet, and fudgy layer that matches perfectly the almost-chewy cookie base. Online research showed two very separate approaches to getting there. Half the bakers built off a dark, butter-based frosting, and half made a ganache built from chocolate chips melted in cream. The only one exception came from Serious Eats, a source for which we have great respect. They called for evaporated milk. We tried that too, but ended up thinking the more traditional approaches both worked fine.

The Butter-Based Frosting. Translating to bakerese, this approach can be summed up as follows: “Make a dark chocolate cake frosting with a few tweaks, and then…” Simple, right? Not so much.

Around half the online recipes called for maple syrup in the mix. That may sound odd, but our research on old fashioned sweeteners offered a perfect explanation. The original Mr. Berger would have been working with Piloncillo (a/k/a jaggery) in 1835, not modern white or brown sugar. The standard substitute for Piloncillo? You guessed it! A good hit of maple. We tried it, and it worked; especially when enhanced by some espresso powder to make chocolate taste bigger. NOTE FROM SCOTT: Old time bakers didn’t use the coffee trick. That’s why it’s only “recommended” in our final recipe. But trust us: you won’t regret it.

The only problem with frosting #1 came from the butter itself, which muddled the pure chocolate flavor we wanted. That led to experiments with shortening instead of butter (a bit artificial), and then a 50/50 mix of the two. Man oh man, was it delicious! But was it right? It didn’t quite match the cookie photos, and…

Oops. Insert drop-of-penny noise. Four versions in, and only now we realized that we had no real target to aim for? Aaargh! What a rookie blunder.

Insert that cry for help in the form of a box from the actual bakery. NOTE: Thanks again Sam.

Cue The Jeopardy Music, And… Two weeks later we got home from our trip with Sam’s box of genuine, store-bought Berger Cookies. Time to compare.

The good news? Our 50/50 frosting tasted exactly like the original. Yay! But the texture wasn’t close. We had a cake frosting, not the extra-thick icing on top of the real deal. But that texture did tell us where to go next. This was the kind of coating an industrial operation will heat to a precise temperature, and then pipe onto production line cookies as thick, oozy lava. Let it cool, et voilà! A dense, somewhat chewy layer of almost-fudge. Our frosting had to be more like a ganache.

Kate, the family chocolatier, suddenly began to see benefits to the idea of that alternate, chocolate chips in cream approach. She’s usually a stickler for quality chopped chocolate rather than commercial chips formulated to have a sturdier melting point. That flaw now turned into an asset. “The right proportion of cream to chocolate chips should harden to just the texture we want, with a lot less fuss.”

Chocolate Chips = Simple? Not So Much. We checked the online recipes for proportions, only to discover the chocolate-to-cream ratio wasn’t the only issue. The recipes were maddeningly far apart! Some had cocoa powder, others didn’t. Some called for maple syrup, others used corn syrup, and some called for both. The specified chips varied from semisweet, down to milk, and then back up to dark. It was so bad that Scott had to compile a table to normalize a full dozen recipes just so we could compare them on an even footing.

Which, thank heaven, yielded some patterns. Darker chips = less cocoa powder, and milk chocolate chips = lots of cocoa powder. Okay, that made sense. Target: dark & fudgy.

As for the syrup, lesson #1 was the fact that every recipe called for some kind of syrup in the first place. Crystallization and graininess must be a real problem! Warning taken. But which one should we choose? The maple recipes described it as an attempt to capture that old-fashioned flavor; perfectly sensible in light of our experience creating the frosting version. Corn syrup recipes all emphasized the need for shine; which was just as sensible because it’s better at reducing crystallization. You might think that leads to an obvious and less expensive compromise, but [insert cosmic buzzer!] Both groups fervently warned against using commercial pancake syrup. [Sigh] So much for the cheap and easy solution.

Our pantry had semisweet chips ready and waiting, so we put together a version using that as a midpoint approach. To this we added a moderate amount of cocoa powder for extra flavor, that ¼ tsp. of espresso powder to round it out, and a mix of both syrups. This yielded an almost-smooth icing that would have a perfect texture if we merely increased the corn syrup a bit. Kate did a second batch, and presto; texture nailed. She declared it done, but Scott demurred.

Yes, she had the right texture. But the butter-based frosting tasted noticeably better. And he had an idea for how to convert cake frosting into cookie-topping fudge. We could simply melt it down!

Melted Frosting? We still had a ton of the airy, butter- or shortening-based frosting. Three batches worth! It was far too tasty to toss, which creates a real problem in our house. We both suffer from a dire medical issue known as, “Just A Taste As I Go By Syndrome.” Heck, our daughters have complained the disease is so contagious they sometimes need to avoid the house! So we detoured back for Scott’s experiment.

He baked another batch of cookies, put some of the 50/50 frosting in a bowl, and popped it into the microwave for a single minute. The result? Effort #1 had bubbled and burned by the time our machine went ding. Doh. Effort #2: try the same thing with 15-second zaps. Still too rough. On to Effort #3: 15-second zaps at 30% power. This product sent Scott running in to the living room to share the good news. “This is pretty close to right. Just a little grainy. I’ll try a new batch from scratch, with melted butter and that corn syrup you added. What do you think about using coconut oil instead? Or maybe some of your carefully hoarded cocoa butter? The ingredients list on the package mentions palm oil…”
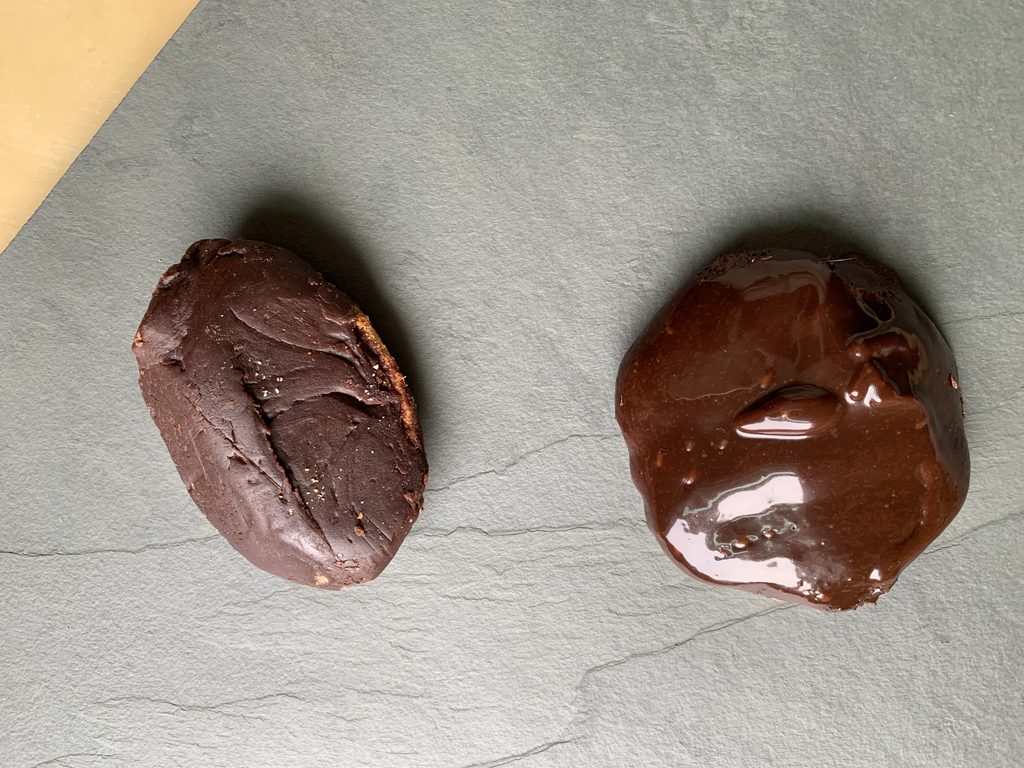
Delicious but grainy on the left; Melted and smooth on the right.

She Who Must Be Obeyed had reached the end of her rope. Kate erupted, “I am sick to death of this cookie! There will be one more batch, and only one more batch. Lives may be jeopardized if I have to sample any more than that! I’m on it. You, dear husband, shall get your sorry butt out of my way. And then you will say nice things when I’m done. Get it? Got it? Good.”

An innocent reply began to form, but up went the infamous Warning Finger of Doom; a digit already shaking with life threatening rage. “Take your new samples to the mushroom club meeting along with all those others polluting my waistline [ahem] countertops. Shoo. Out. What are you, deaf?”

NOTE FROM AN ANONYMOUS EDITOR: Scott did write a full and fair description of the scene, but those observations have been deleted wholesale in the name of marital harmony. Plus that gentle, kind hearted, generosity of soul for which he is so well known.

NOTE FROM KATE: I remind y’all that Scott is not only a superb cookie developer, but also an inspired writer of fiction. I shall forgive him for putting a more adventurous spin on my notoriously conflict-averse way of speaking. At least for now. These are good cookies and I have nothing against them.

Scott went off to the mushroom club, enjoyed that scene with the young lady from Baltimore, and came home to find a new, fully completed batch of Kate-made cookies. And a wife holding up a finger (index!) like a 10-year old with a boo boo. “I singed my finger dipping the cookies into the hot chocolate lava. Even worse, I broke off a few edges when it began to cool and thicken up. But I am calling this one done. There’s leftover frosting if you want it.”

Scott duly kissed the finger, and then re-melted the leftover topping. He applied it to the cookies with a spoon instead of dipping, which turned out to be a very good thing because Kate’s dipped-in layer had been thinner than she thought.

NOTE FROM KATE: I made frosting for my final batch by combining all the leftovers in a double-boiler with a scant quarter cup of chocolate chips, a drizzle of corn syrup, and a splash of cream to make up some missing volume. Then I stirred until it all came together. It worked just fine, proving the recipes are mutually compatible.

Kate’s cookies were so close to the store-bought version that everyone was happy. Almost.

Kate’s final batch, with remelted frosting spooned on top by Scott. Stare close and you can see a little of the graininess we fixed for the final recipe.

Obsessive Bakers Anonymous Should Open A Local Chapter.

Two weeks later the Warning Finger Of Doom had descended, and a pair of questions started to circle their way into family conversations. From Scott, needless to say. First, “I wonder what the temperature should be to get that topping exactly right?” And, “If we’re going to work with a hot coating anyway, why not do a test with that wonderful butter frosting I worked on so hard?”

Kate gave in a week or so later. “Fine. Go ahead and give it a try if you must. But the cookies are going to the dojo, and they *are not* going to stall in this house on their way out the door.”

Not an exclamation point in sight.

So a last and truly final batch went up, with every revision incorporated, additional research performed, and an instant read thermometer on hand. From that we learned the magic temperature for butter-based icing: 175° F (77-80° C). It’s too thick below that, and too thin above. The magic temperature for cream-and-chips ganache is lower, more like 105° F (40° C).

Best. Version. Yet.

Ultra chocolate icing; lots of it; with no graininess at all thanks to the combination of maple and corn syrup.

The Frosting Takeaways (By Kate)

Use a fat that hardens at room temperature. Either don’t add extra air or moisture, or heat the frosting afterward to remove them. As long as you don’t burn the chocolate, the process is quite forgiving.

Whether cake frosting or ganache based recipe, that dark stuff must be liquid, but thick. I once dipped the cookies while the frosting was still a bit hot, which resulted in that too-thin layer. However, once the frosting set, I reheated what was in the pot, and double-dipped them. That works just fine too. Scott reheated the leftovers later, and applied some extra to the rest of the single-dipped cookies with a spoon, occasionally shaping it with a spatula. I compared them to our last commercial cookie, and you cannot tell the two apart except for the spatula marks.

Taste-wise, I was surprised to prefer the chips-and-cream ganache. It’s so simple, and works at a safer temperature. Someday I’d like to experiment with darker chips and a little less cocoa powder. Most frostings are too sweet for my taste. The ones we developed are, however, true to the sweetness level of the commercial product. It is what it is.

And From Scott…

Both of the frosting approaches will work. I prefer the flavor of the butter-based version. It really is a coin toss call that comes down to taste. Which is why we’ve included instructions for both kinds of frosting in the recipe down below. Take your pick.

The biggest concern comes down to temperature control, and there’s no getting around it. Both versions must be applied when the icing is at that delicate stage between being so thin that you don’t get a proper layer, but not thick enough to require a spatula. The magic moment occurs when the icing looks like an extra-thick caramel sauce; at around 175° F (77° C) for butter-based icing, and 105° F (40° C) for cream-and-chips ganache. We recommend you work with the right temperature from the start, and then gently reheat as needed. Think ahead too. Since you will need to reheat, ice the cookies on a screen placed over parchment paper. Then you can recycle any drippings back into the pot right away.

Dipping works but you will get some broken edges because the cookie part is delicate and the icing is thick. Spooning works better. That’s what we put in the recipe. There’s also the ideal answer: invest a few million dollars in an industrial production line to maintain exactly the right temperature, which will also let you pick the exactly right kind of piping nozzle. Tempting… but I think we can leave that to the pros down in Baltimore.

Conclusion

This recipe will give you a cookie as close to the original as anything you’ll find. Tasters literally couldn’t tell which was which when comparing our version side by side to the last originals in the box. And tasters from Baltimore were so enchanted they really didn’t want to be distracted by such things.

The city’s football team may not hold a candle to our proud Pittsburgh standard. [Go Steelers!] But Baltimore’s city cookie? It’s right up there with our own Kauffman Thumbprints, and that’s high praise indeed.

Enjoy!

Kate’s Final Note

I am not responsible for the Terrible Towel / Baltimore Berger Cookie pairing down below. Scott showed up with the towel in hand, thinking he would help with the props. My eyebrows rose so high, I still have a wrinkle in my forehead! But I tried it, and it worked. Competition on a level playing field brings out the best in both sides.
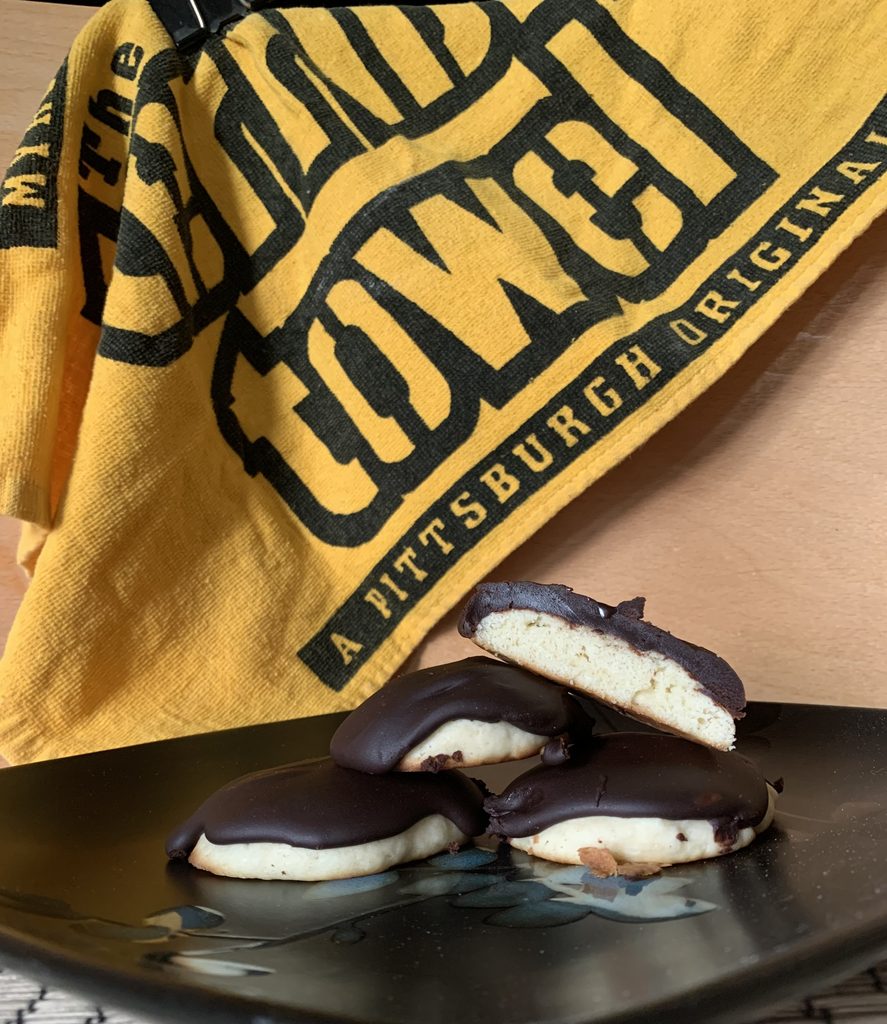
How to season Baltimore’s city cookie; with a proper backdrop!
What the heck. Let’s add some extra cookies for halftime.

SOFT & CAKEY PUMPKIN COOKIES

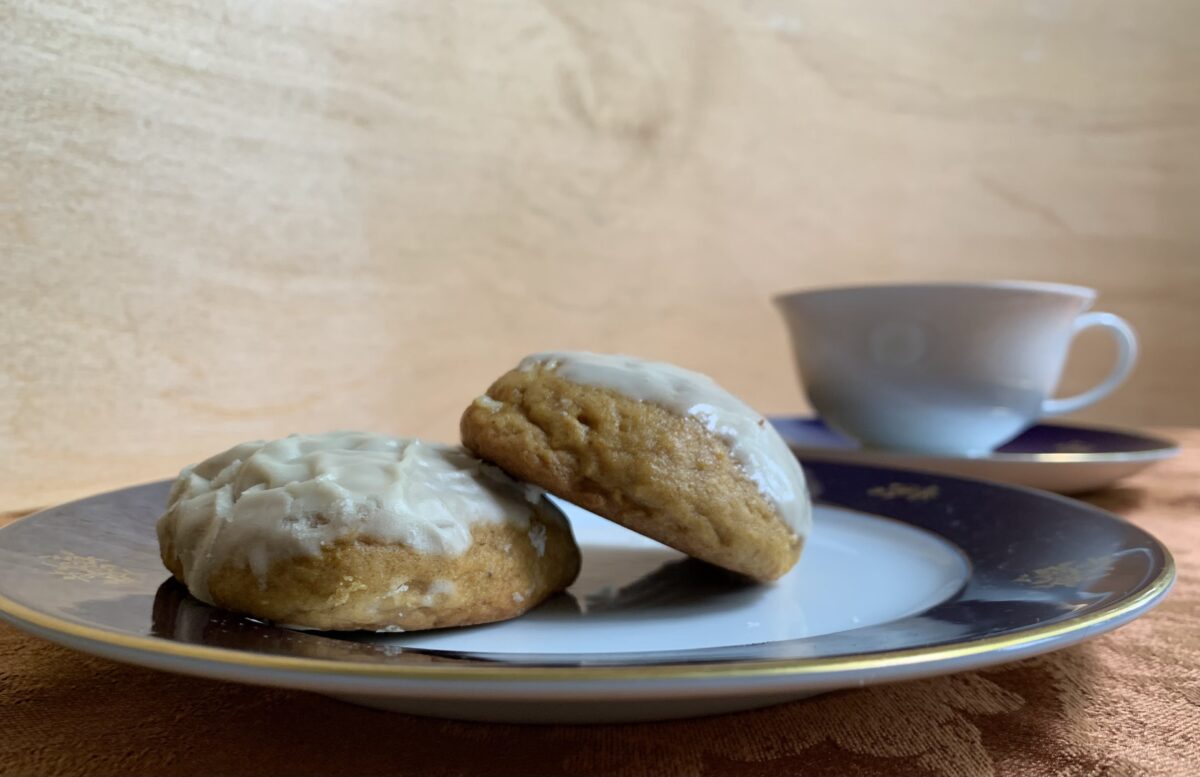
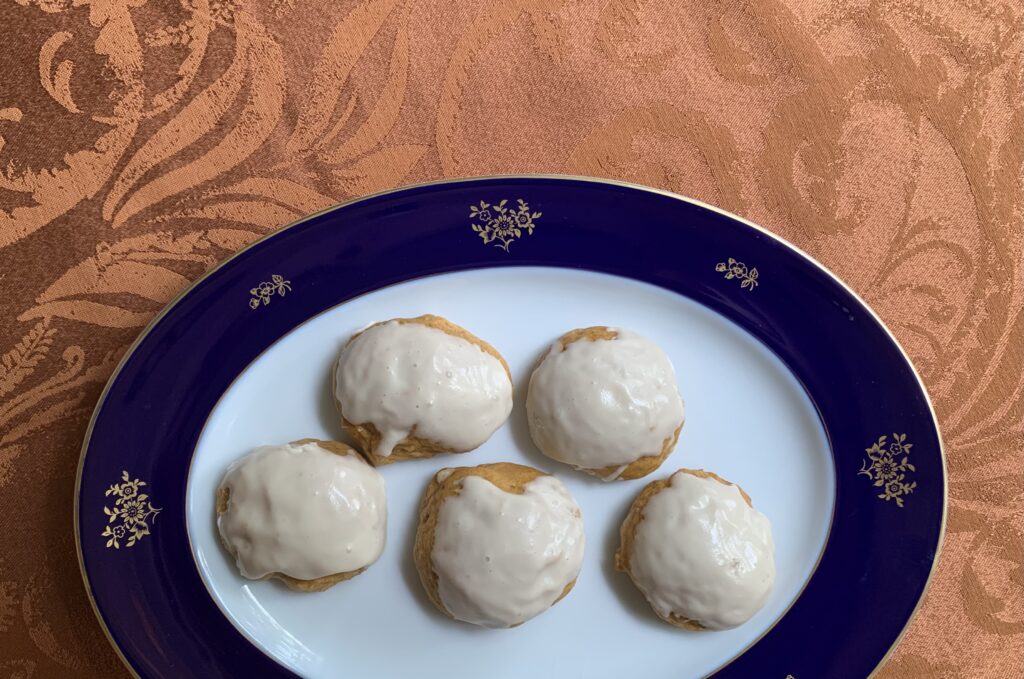
Iced and spiced, soft and caky pumpkin cookies

Look up “pumpkin cookie recipe” and two versions will pop right up: chewy and cakey. Our recipe for Chewy Pumpkin Cookies already went up. Both of us are on Team Chewy, so that one got priority in the testing process. But you know what? Scott asked our ever-eager cookie testers about both, and the vote ran very close to 50/50. Team Cakey voted as long, loud, and often for their favorite as the loyal adherents to our favored party. Chewy-biased as we are, we have to agree our neighbors have a valid point. These Cakey Pumpkin Cookies are very, very good indeed. We will definitely make them again when the right opportunity appears.

NOTE FROM KATE: This cookie tastes less sweet than the chewy one – until you ice it. Whether you single-dip or double-dip your cookie in the icing will determine the sweetness level of every bite. If you wish to freeze these, and they will go stale faster than the chewy ones, there’s a definite way to get the best results. First, let the icing dry completely and/or freeze them individually on a baking sheet (recommended if you’ve done anything decorative). Then nestle the dried-icing cookies in a container with a tight-fitting lid, placing baking parchment between each layer. And remember: icing-destructive sticking will definitely occur if you put the cookie into their container while sticky, but it can occur as they thaw. Best to separate the frozen cookies earlier than later.

Get The Moisture Out!

Pumpkin keeps your cookies moist. That’s all to the good. Wet pumpkin? That creates unpleasant, pumpkin flavored snails. Moral of the story?

Get the extra moisture out!

Chewy Pumpkin Cookies do this by cooking the pumpkin in browned butter until the water is gone. That isn’t an option for this recipe, which starts with creamed butter (i.e., softened butter beaten until white, light, and fluffy). That means you need to dry the pumpkin out by hand.

We tested a few methods and ended with a clear favorite. First, it really helps to start with canned pumpkin because that’s already much drier than what you’d serve as a side dish. In fact, you’re going to find it in the baking aisle rather than with the other vegetables because the companies assume it will be used for some kind of pie, and don’t want customers to wrongly assume it’s ready to eat as-is. But pie recipes call for barely-damp pumpkin. That’s what is in the cans. Cookies want all-but-dry pumpkin.

We get there by putting the pumpkin in a fine mesh sieve and then blotting both the top and the bottom with some paper towel. Then we stir it with a spatula, squeeze out the paper towel, and repeat until it’s no longer absorbing a matieral amount of water.

This process taxes several mix-and-blot episodes, but it works and is definitely worth the time. Pro Tip: wring out the wet paper towel and keep reusing it until most of the water is gone. Then switch to a clean towel in order to see the moisture better for your final blottings.

NOTE FROM SCOTT: Blottings? Is that even a word? Some baker’s equivalent to etchings? “Hey Babe, how about stopping up to look over my blottings…” Something tells me that particular pick up line might not work as well as the other.

NOTE FROM KATE: See what I have to put up with?

The Recipe Could Not Be Simpler Once You Remove The Excess Moisture

Have you got your pumpkin basically dry? If so, you’ve got this nailed. The rest is easy.

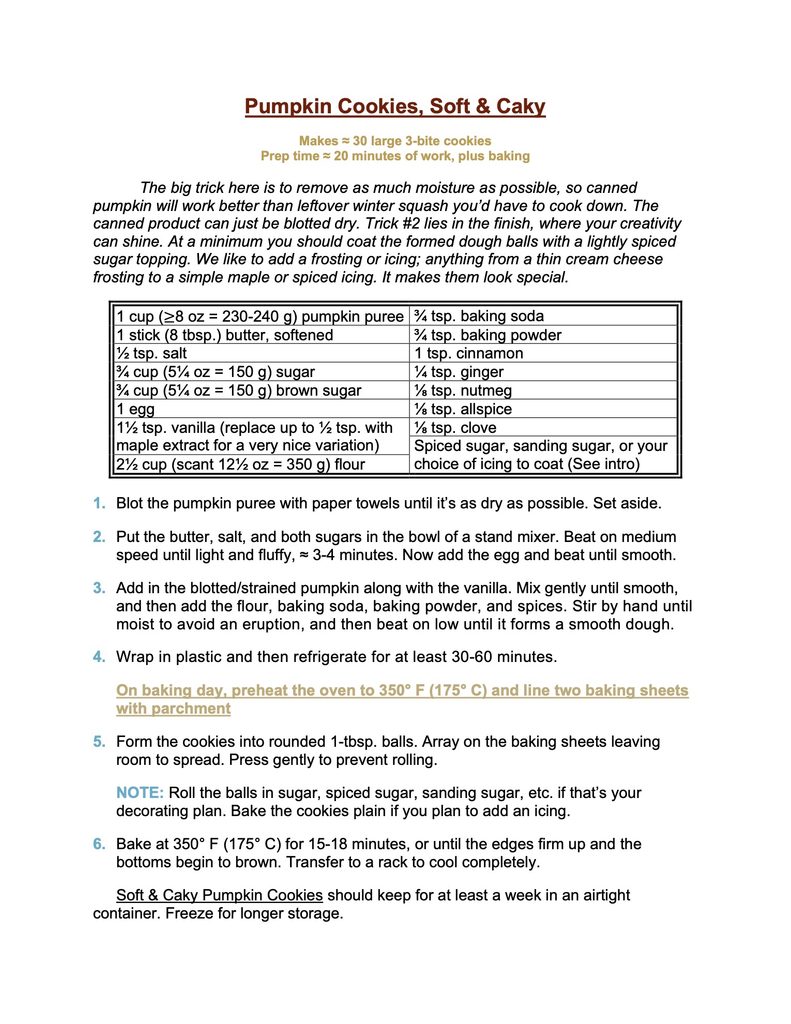
Beat the softened butter with the sugars (white and brown) until light, white, and fluffy. I.e., “cream the butter” if you speak bakerese. Then beat in an egg until smooth. Follow by folding in the pumpkin along with some vanilla (or better yet, some vanilla spiked with maple). Now stir in the dry ingredients, taking care to avoid an eruption, and then refrigerate until the flavors meld and the texture sets into a consistent dough.

Done.

Baking that dough is even simpler. Portion onto baking sheets and let her rip.

To be fair, we inevitably add a third step, but that’s not exactly a challenge! Depending on the mood of the moment, we’ll either (a) roll the pre-baked cookie balls in spiced sugar like we do for Chewy Pumpkin Cookies, or (b) giving them a quick maple icing when they’re hot out of the oven.

Then comes the hard part. Cool completely before you dive in.

NOTE FROM KATE: This cookie contains two intensely hygroscopic (i.e. water-attracting) ingredients: pumpkin, and sugar. The pumpkin water gets stabilized as Scott described above, and baked, so that part is handled. The sugar in the icing, however, is a bit different. If your weather is humid, AND if you leave the cookies sitting out, the skin on the outside of your lovely icing will pucker up like a bulldog’s face. It’s still good and it still tastes the same, but it can change your expectations a bit.

I found that these cookies refrigerate well, which prevents the icing puckers. But don’t stop there. I also found that smooth icings make this cookie ideal for extra decoration. A colored drizzle line over the off-white icing would look great! Or you could decide that the puckers are a feature rather than a bug, and give the puckered icing a wash of thin, colorful icing for a stone-like effect. (See what I learned in pottery class?) In any case, I doubt the puckered icing will be an issue during the colder months, when our Pittsburgh humidity drops like a rock.

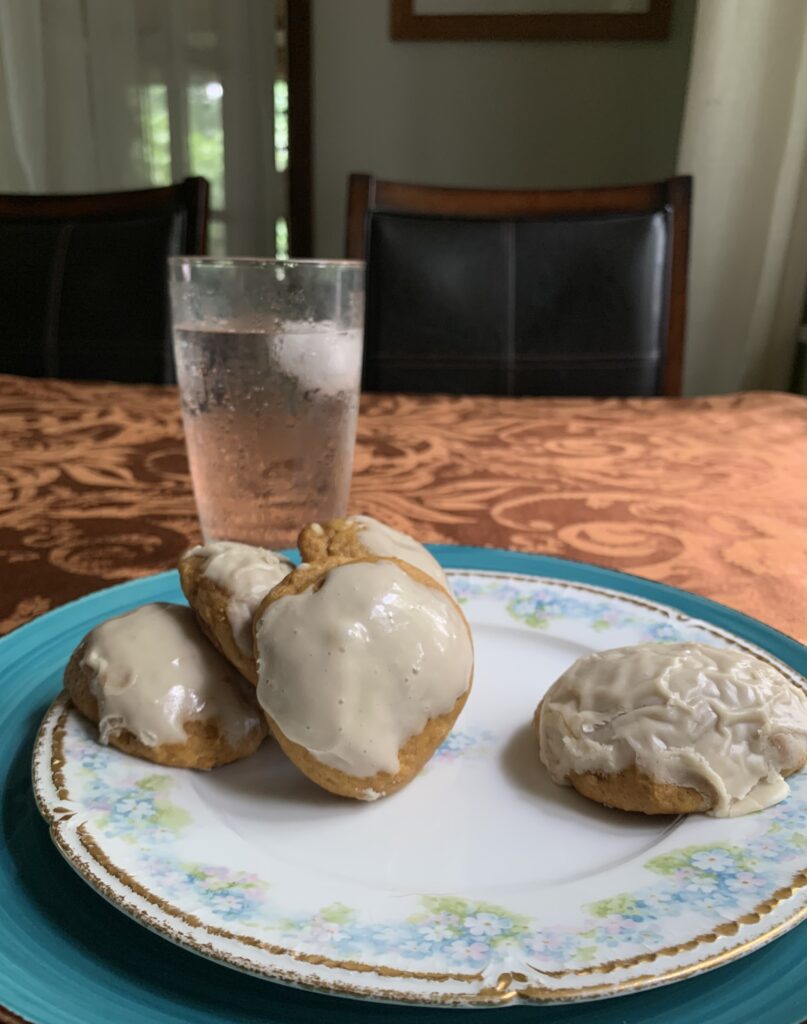
The Golden Rule Of Pumpkin Cookies: Water comes OUT before you make the dough. If you want water, have a glass AFTER they’re baked. Tea is pretty good too, of course.

NOTE FROM SCOTT: So much for my effort to make a pretty swirl in the icing. [Shakes head]

Conclusion

Be they chewy or cakey, pumpkin cookies are a simple, homey, and satisfying project. Half the world will prefer the one, and the other half the other. Make the one that sings to you.

Enjoy!

JOE FROGGERS, Americana From The Age Of Sail

A revolutionary war cookie from coastal Massachusetts.

Imagine an arm around your shoulders and friendly voice saying, “Hi. I’m a cookie.” Then add in this quote from one of our tasters: “That’s the biggest, softest, easiest going ginger snap I ever tasted! Or is it gingerbread?” And then triangulate with sailors on a clipper ship singing in the sunlight, “Ho, ho, ho and a bottle of rum!” Somewhere in that intersection you’ll find Joe Froggers, a cookie created right after the Revolutionary War at a Marblehead Island inn outside of Boston, Massachusetts.

The Cookie On Its Own

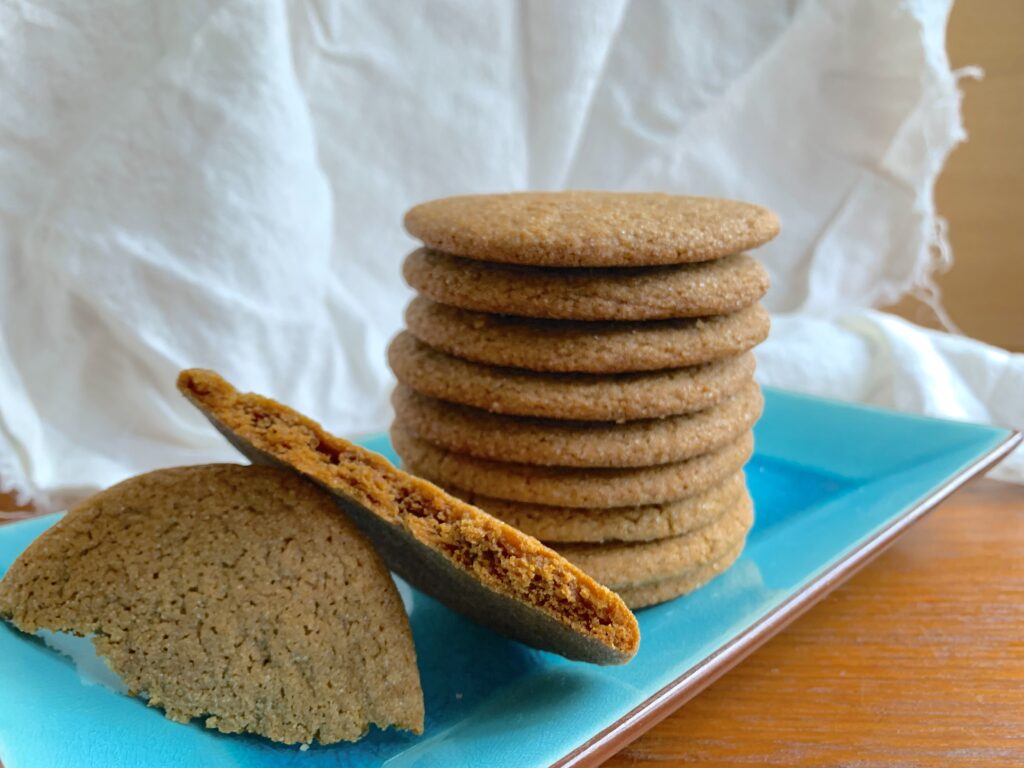
Joe Froggers are a soft, gently spiced molasses cookie with a nice finish from a tot of dark rum in the dough. The cookies were designed and intended for grownups, but they’re also as kid friendly as a cookie can be. The texture is plush and easy; the flavor simple, familiar, and a bit raisiny from the molasses; and they’re about the width of a small child’s face (4″-6″ across), which guarantees the ‘eyes light up with delight‘ reaction.

The earliest versions were made with lard. Most modern recipes call for shortening. Butter tastes best of all, of course, but you give up a bit in the way of texture. We make them with a 50/50 mix of butter unless there’s a special reason to be historically accurate.

NOTE FROM KATE: I felt a need to be historically accurate, so Scott made the first batch with lard. This beautiful cookie is friendly and cheerful, but I felt like I had to work against the unfamiliar flavor of lard after the third bite. This particular fat’s texture sticks to the mouth a bit more than butter or shortening. Not a familiar sensation. Next time I’d go with half lard and half butter. Despite its undeniable culinary advantages, I don’t particularly like shortening, as it’s an ultra-processed food, but YMMV. I can see this one becoming a family favorite!

That’s about all you need to know. It’s a big old, friendly, arm around your shoulders cookie.

“Joe Froggers?” A Taste Of History

The general outline of the story is well known and documented, with its own page at the Marblehead Museum website. The story goes like this.

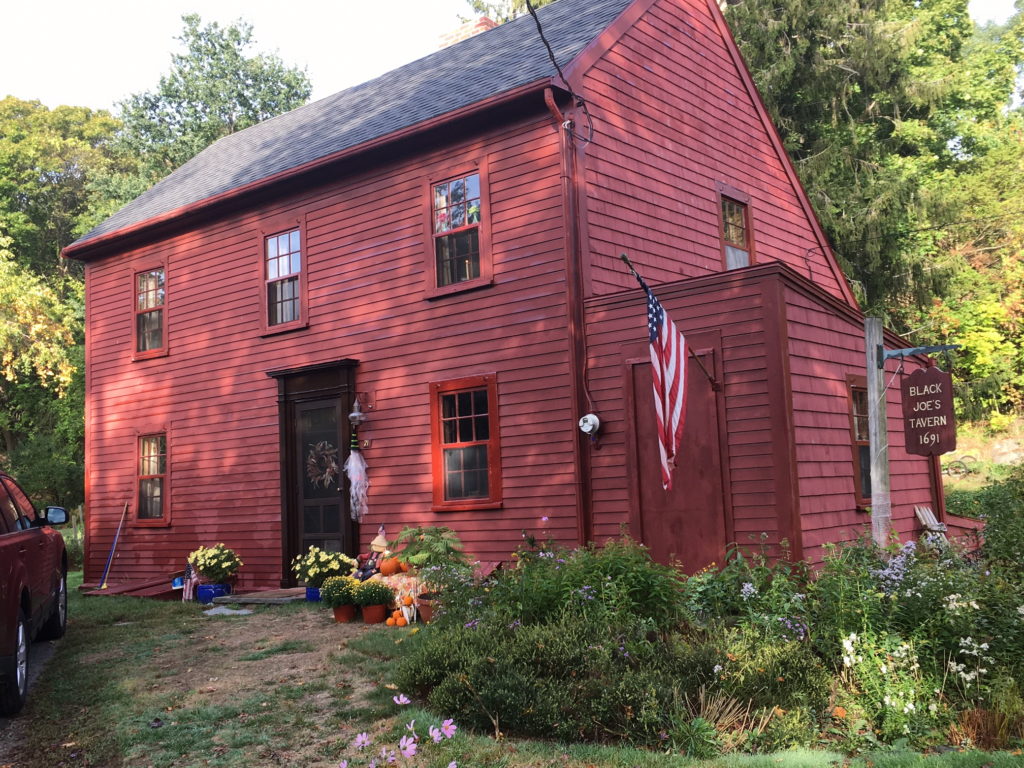
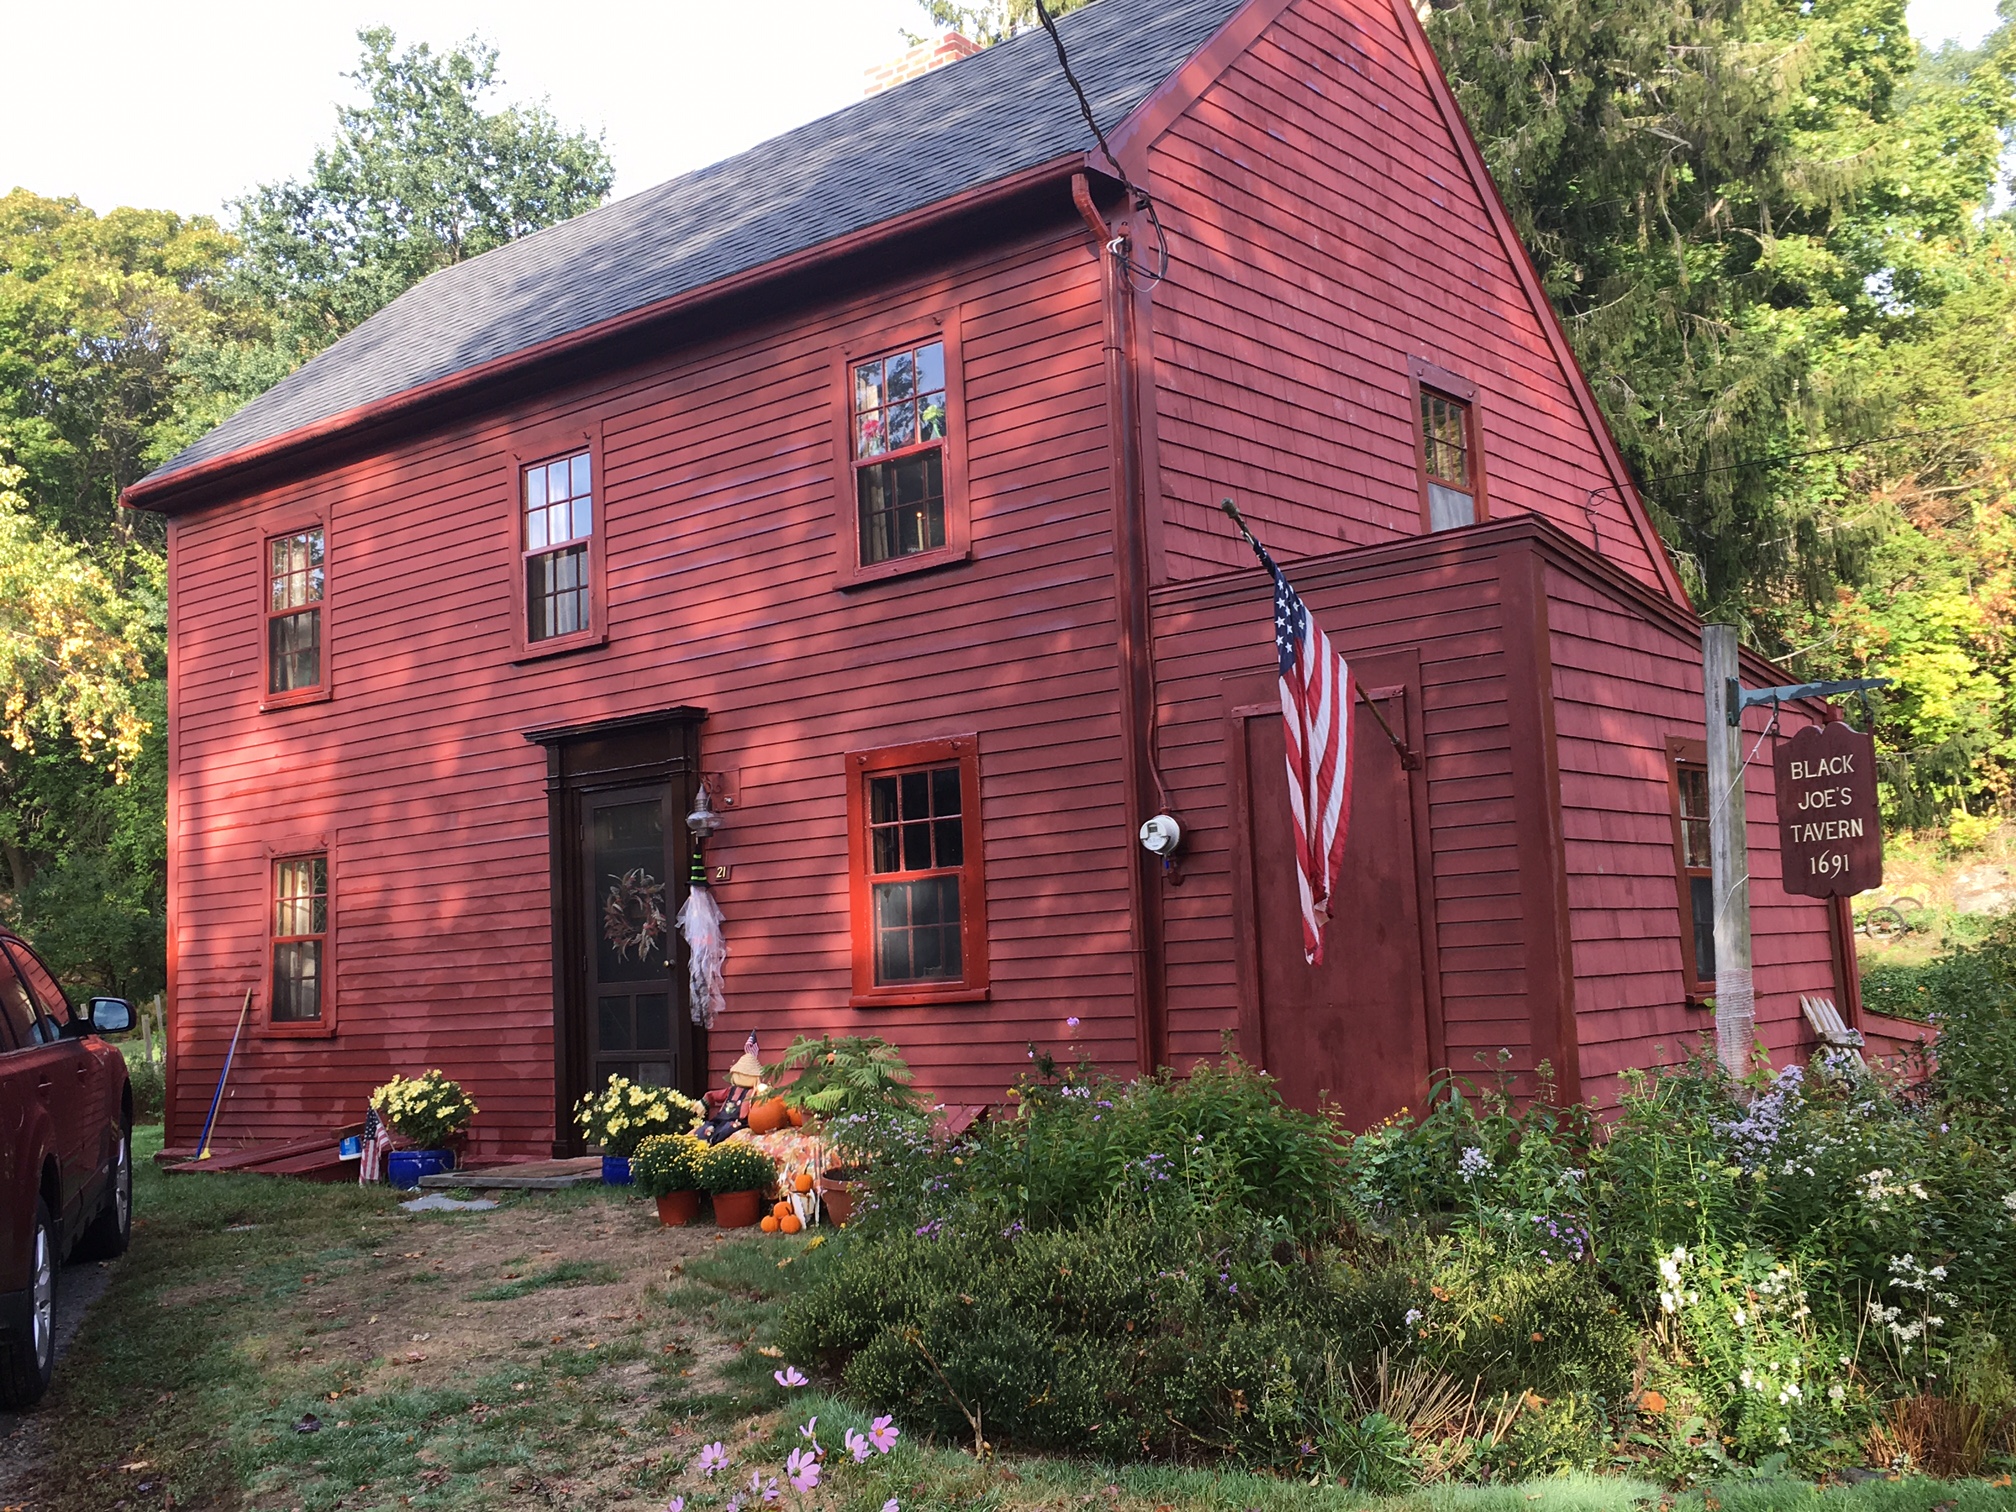
Once upon a time there was a Revolutionary War veteran named Joseph Brown, son of an enslaved, African-American mother and a Wampanoag father. He and his wife Lucretia opened an inn on Marblehead Island after the war, right next to a local frog pond.

Photo, credited to the Smithsonian Institution, found at MarbleheadMuseum.org.

Lucretia invented the cookie, and it became something of a sensation. They’re not only delicious, but they also have enough molasses to keep for a very long time. The revolutionary era Massachusetts economy centered on fishing, trade, and other maritime activities. Marblehead was a major seaport and shipbuilding center, so much so that it’s also known to history as “the birthplace of the American navy.” That fame would only grow as the young nation built its vast fleet of clipper ships.

Joe Froggers (and Hermits) quickly became the treats of choice to send off on long voyages around the Atlantic, and later around the world. Small, tasty, long lasting, and relatively inexpensive because much of the nation’s molasses and rum trade came through Massachusetts ports.

The name itself is more debatable, with every source we’ve found claiming to have the one true answer. It’s certainly related in some way to the pond out back. And the “Joe” part certainly comes from Joe Brown. Others note that Lucretia Brown (“Aunt Creese”) originally made these on a skillet, like extra chewy pancakes, and everyone who’s done such things will know how often the neat, round shapes you’re after come out looking vaguely like a frog. Others argue for the lily pad idea.

Decide as you like. This is me hoppity hop hopping away from all such debates. It’s probably some combination of them all, plus the fact that the name itself is so fun.

Moving on, Brown’s Inn grew into an immensely popular community center for celebrations of all kinds. Joe became the town fiddler, with his own set of local legends. And Lucretia’s breads, buns, cookies, and cakes were the best one could find. The couple eventually grew into local legends in their later years, and then expanded into lore and myth after their deaths, with the details ebbing and flowing with whoever told the tale.

For our purposes the bottom line is this: “Black Joe” and “Aunt Creese” were real people, who owned a real inn, and really were well known and loved across the island of Marblehead, Massachusetts. Lucretia Brown really did invent and popularize the cookie now known as Joe Froggers. Joe Froggers really did become a “thing” both during and after their lives, traveling around the world on the Bay State and American Navy fleets. And they remain a “thing” across eastern Massachusetts even now, in the 2020s.

Many cities around the country have “their” cookie. This is the one belonging to Boston – complete with the inevitable carping about how Boston undeservingly managed to absorb all of maritime New England under its umbrella. You’ll make a friend if you acknowledge that injustice to a native of Marblehood, Lynn, Gloucester, or the other seafaring centers of the era. Just acknowledging their claim will make a difference. And Bostonians won’t care in the slightest. It’s all Greater Boston from their point of view. They’re city folk.

An Aside (Sort Of) – The Great Molasses Flood Of 1919

I spent a few hours walking Pittsburgh’s Strip District in search of enough testers to keep us from devouring dozens of these huge cookies on our own. It was a real danger! We each accounted for at least half a dozen when the other wasn’t looking because they are heartbreakingly moreish. The molasses flood must have come up in conversation close to ten times.

It has no direct connection to Joe Froggers beyond “Massachusetts” and “Molasses,” but it’s one of those fascinating events that everyone’s heard about but never remembers until prompted. And then they remember how much they love the story in a guilty kind of way. 20 people drowned in molasses?! The smell lingering on summer days for decades?! Massive and enduring changes to building codes across the nation? Baking ingredients shutting down a city?! Wow.

This goes to a link from the city website Boston.gov if you want to refresh your memory. Here is a fun Wikipedia link that tells the story better, albeit with less authority.

Notes For Fellow Bakers

  • The rum adds an interesting note you don’t really taste unless you know it’s there. But it does matter. First, because it’s a part of the history, and that’s part of what makes this cookie so fun. But also because the rum rounds out the spices to create a whole that isn’t quite gingerbread, and isn’t quite ginger snap, but something unique within the family.
  • Rum extract should work just fine, though we haven’t tried it. We used Gosling’s Black Seal Bermuda Dark Rum because we also keep around the house just for drinking. Good stuff!
  • The fat makes a difference because you can taste it in the final product. Lard and shortening add something to the texture, however, which is why we recommend a 50/50 mix of butter to other. But it’s truly up to you.
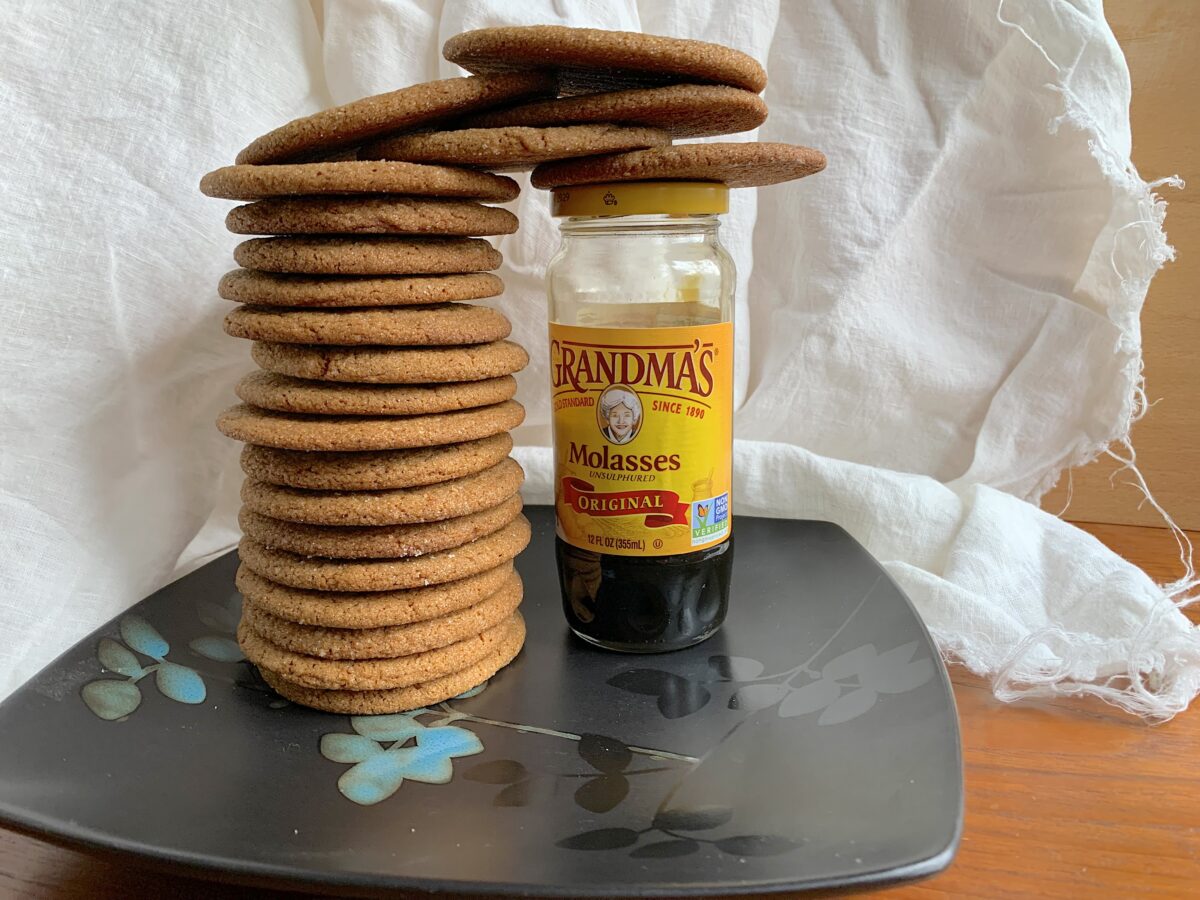
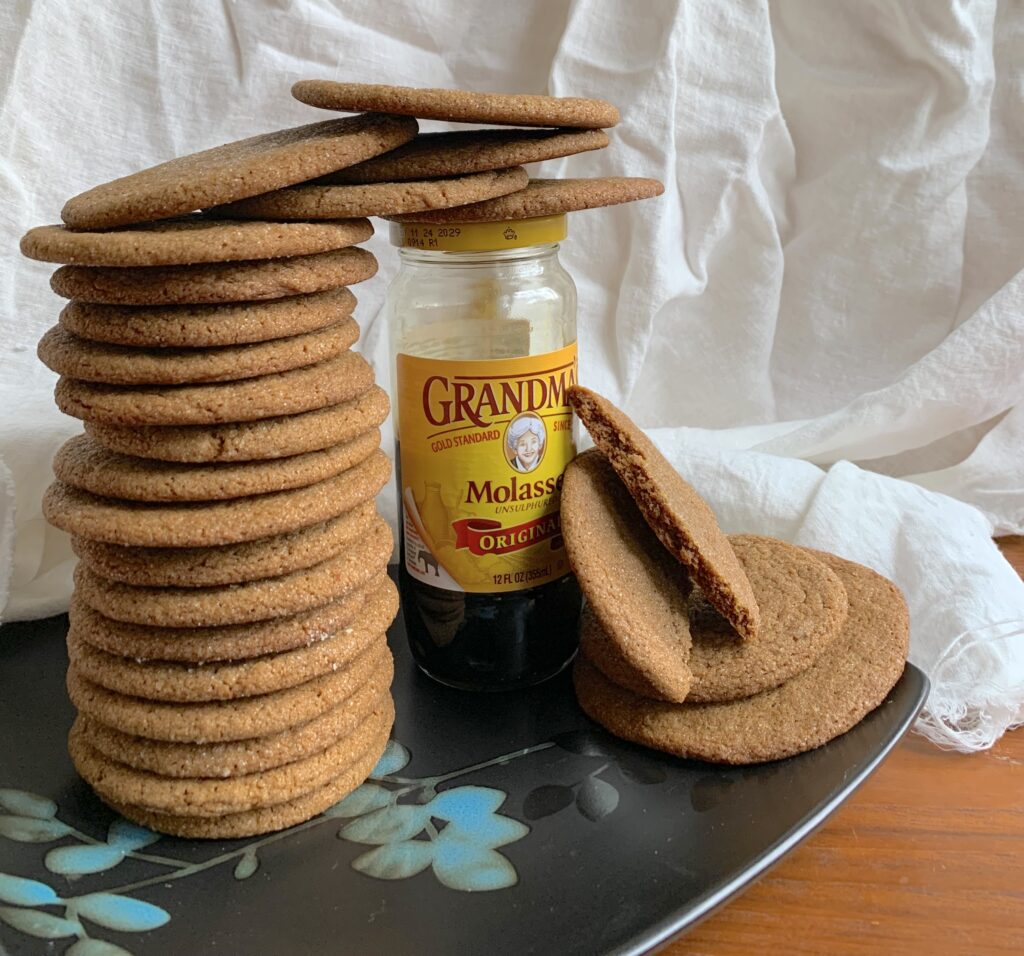
  • Purely by chance, I happened to use up my old jar of molasses while making a test recipe. That jar became the perfect vehicle for combining the (topped off) cup of molasses with the hot water and rum. Put it all in the jar, screw down the lid, and shake until it’s all smooth and liquid.
  • This is a really, really sticky dough that’s just over the line from being a batter AFTER it cools and sets in the fridge. Account for that as you get the dough mixed. You want just enough flour to reach that point. Any more will start to toughen the cookies. Remember: you can always mix in more, but cannot take any out.
  • Some recipes will merely sprinkle the pre-baked balls with sugar, but we ended up rolling them simply to make the sticky dough balls easier to handle. This is why we removed 1-2 tablespoons of sugar (⅓ oz = 10 g) from full 1 cup usually listed for the dough.
  • You want to press the balls down to keep them from rolling, but there’s no need to really squish them. The dough will spread all on its own.
  • Speaking of which, a golf ball sized sphere is really big compared to what you probably make with other recipes. That is the minimum size for true Joe Froggers. They’re supposed to be big enough that children will gape in awe at the wealth. Skimp if you must, but please do it on purpose because regular sized cookies don’t leave the same emotions in their wake. We fit only four cookies per standard baking tray, with six slightly smaller ones on the final tray because that’s what was left in the bowl.
  • Adding the flour and liquid in stages works best. Everything gets smoothly and evenly incorporated. But it isn’t essential unless you’re working by hand.
  • This is a no-eggs recipe. That isn’t a typo. It’s a feature, not a flaw.

Enjoy!

SPICED CHOCOLATE DROP COOKIES – A Master Recipe For Infinite Delights

Turn your favorite chocolate-and-spice bars into exquisite cookies

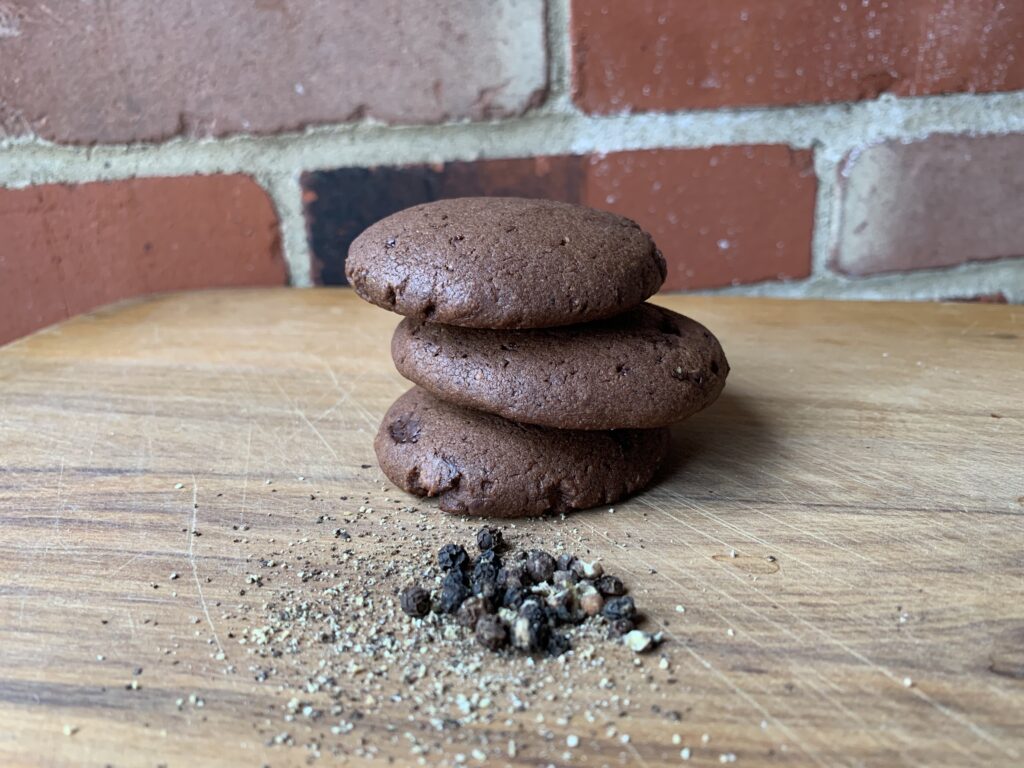
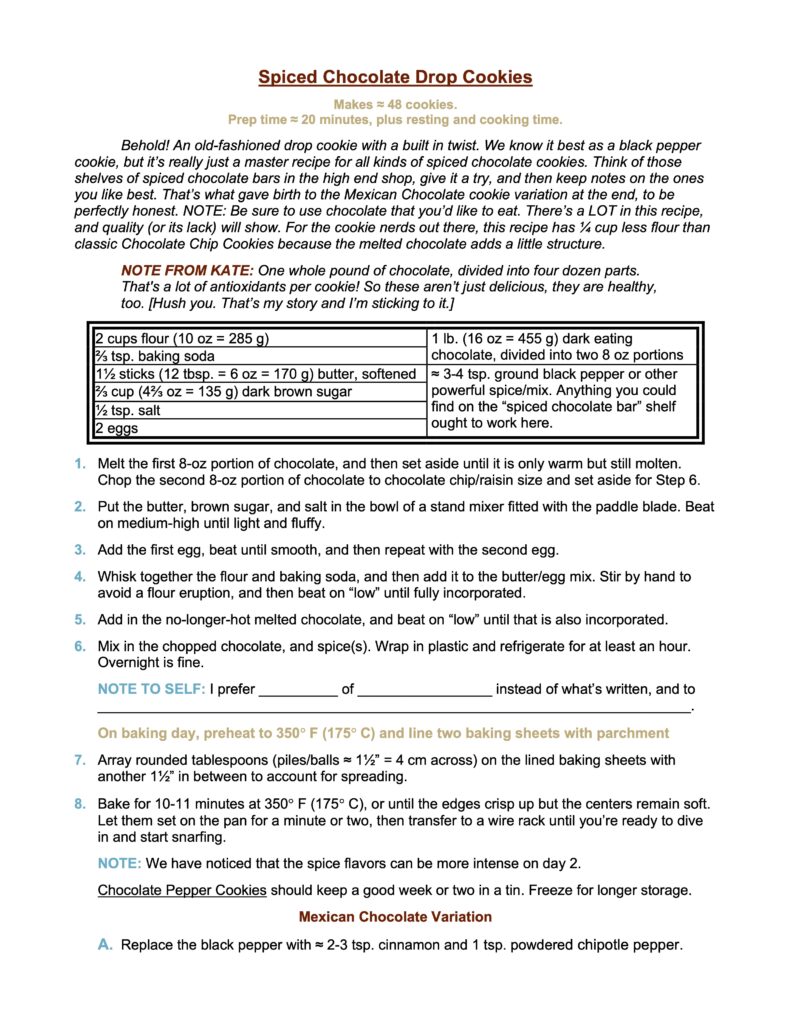
“Infinite Temptation” may make more sense in the title than “Infinite Delights.” The testing began with a Chocolate Black Pepper cookie, and the batch looked good as it came out of the oven. Thirteen nice, hefty, 2½” pieces. I tasted one, and liked it. A lot! So I duly brought them out to my beloved, and left them there on a plate so she could try one too. Then I went off do some work on another project.

I strolled back in about 30 minutes later. There were 4 cookies left on the plate. Our pup had been with me in the office. Kate had been left alone with the plate, parked on the sofa with her laptop.

13-1 = 12. 12-4 = the sort of math that wise old husbands forgot how to do a great many years ago. Make that wise and generous husbands, since I immediately ate three more and was kind enough to leave her the last.

Batch #2 got made when we hosted a dinner for our daughter and niece. Miranda had the will power to resist, thanks to a bit too much spice for her taste. Amanda? Amanda ate so many that I don’t have the heart to rat her out in public. Let’s just say that we now have testimony to how well the cookies go with a glass of wine, and with a glass of water, straight out of hand when no one seems to be looking, and with coffee too.

Get it? Got it? Good. These really are all of that; as simple as can be, absurdly rich, and with just enough of a twist to always be unique.

NOTE FROM KATE: One whole pound of chocolate, divided into only four dozen cookies. That’s a lot of antioxidants per cookie! So these aren’t just delicious, they are a regular health food! [Yay! That’s my story and I’m sticking to it!]

As always, skip to the bottom if you only want the recipe without the process.

The Cookie Part

This is a fairly standard drop cookie, so there’s no need to bore you with the chemistry. Go look at a regular Chocolate Chip Cookie recipe. Subtract ¼ cup (1¾ oz = 50 g) of flour, and replace it with half a pound (8 oz = 225 g) of melted chocolate. Bing, bang, boom, you’ve got it. The chocolate adds back the structure you lost by removing that bit of flour.

Add another half pound of chopped chocolate (or really good chips), the spice du jour, and you’re done. The only tricky part comes with the baking time. It’s easy to overbake a cookie this dark, and doing means sharing chocolate essence with the air, so we limited the baking time just to be on the safe side. 10-11 minutes instead of the more normal 10-12.

Just make sure to use a good chocolate. There is a full pound of chocolate in every batch. The flavor comes through, and cheap chocolate will show.

NOTE FROM KATE – ABOUT CHOCOLATE: Some of you might’ve seen articles about chocolate with elevated heavy metal levels. Long story short: which risk factor do you want to go with on a given occasion: chocolate or chardonnay?

Development

Chocolate is great. Chocolate is awesome. But the special part here comes from the spice.

Please note that I didn’t actually create this cookie. We publish heritage cookies not mind numbingly good original creations. That said, the accusation has been made and so I feel the need to defend my process.

I began the project looking to highlight a black pepper cookie. Think about it: all those spice snaps, with flavors ranging from across the map, and yet almost no one remembers to try the one spice that’s in basically every kitchen across the breadth of Western civilization. It couldn’t be right… and it wasn’t. Examples abound. And I may get back to them idea later on. But the thought of chocolate black pepper cookies could not be resisted, and thus I went a little sideways.

A Google search for the term “chocolate spice cookies” comes back with a bit more than 68 million results! Italian recipes lead the way, but U.S. versions (like this one) aren’t far behind. There’s one from South Africa with just black pepper… there are a few based on Mexican chocolate… Viennese chocolate pepper cookies (a roll out)… It doesn’t end. This isn’t an original idea, just my version of one that every baker across the world has thought about from time to time.

So what did I do? (A) I elected to go with a U.S.-style drop cookie, and (B) I made it so good that all the other 67,999,999 are stuck with trying to come in second.

NOTE FROM KATE – ON FLOUR: We had a batch where we ran out of AP flour (11.7% gluten) and ended up using pizza flour (14% gluten) for about a quarter of the required amount. Those cookies didn’t spread. They had so much more structural integrity that if you made a little pyramid, it would probably look like a little mountain upon baking. The cookies in the photos are made with regular AP flour, and they did spread some but not very much. This begs the question, would a softer flour yield a more traditional cookie with more spread? Would substituting some starch for 10% of the flour do the trick? If you try it, let us know on our eponymous FaceBook group.

FYI, there was nothing wrong with the pyramidal cookies went came to taste. Their centers remained soft and may even have held on to moisture better. High levels of either cocoa or chocolate will suck moisture out of any baked good, and this is a great example of the phenomenon.

The Spice Part

The first test batch stuck with black pepper. Four teaspoons of it! The result was superb, but it did push right up against that line between “right” and “too much.” The recipe accordingly says 3-4 now. But the big Aha! moment came when we realized that black pepper was just the tip of this particular iceberg.

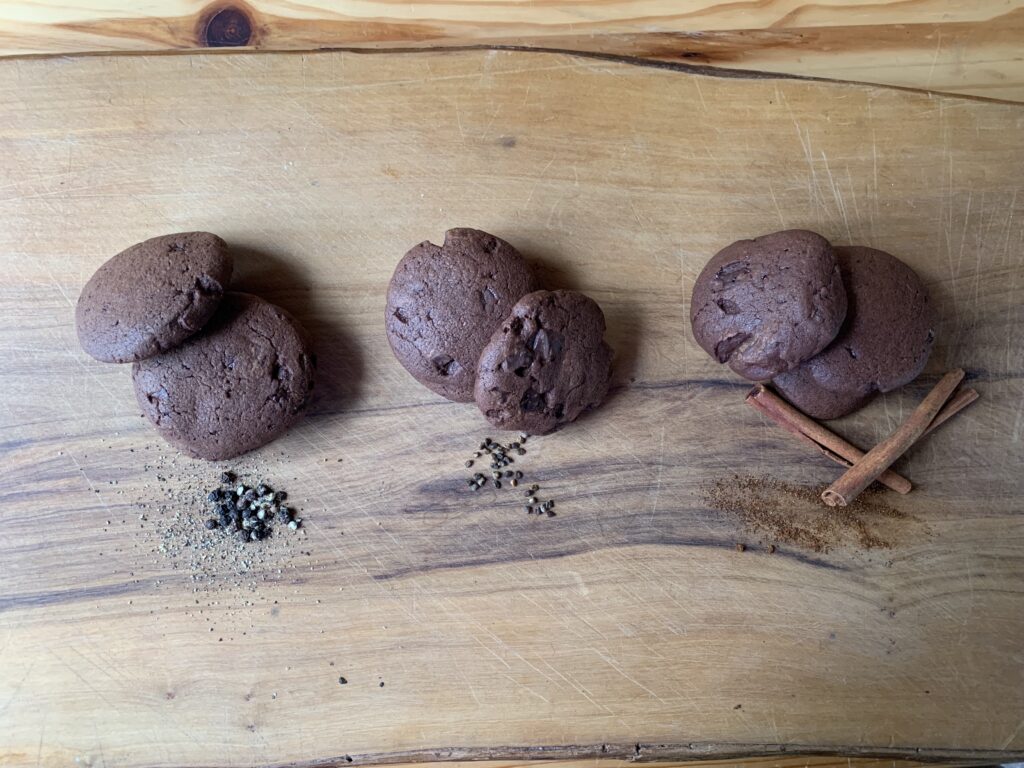
Go out to your favorite chocolate shop and you’ll find a whole shelf of well spiced options. Chocolate flavored with cinnamon. Chocolate flavored with cinnamon and chili (the Mexican chocolate profile). Chocolate flavored with cayenne, garam masala, ginger, nutmeg, star anise, cloves, gingerbread mix… It’s endless! I mentioned this to Kate and her eyes lit up with an evil gleam.

Every single one of those would work in this recipe. Just compare the potency of your chosen spice to the designated 3-4 tsp. of black pepper in this master recipe, and keep notes so that Version B will be perfect. Bing, bang, boom.

NOTE FROM KATE: I prefer more spice. The cookie doesn’t have to bite back, but higher spice level helps the flavor linger. The pepper version is warming and makes you raise an eyebrow in surprise (use fresh-ground for best effect.) The cinnamon-chipotle one is familiar, with a long and warm finish. Cardamom alone didn’t have the same bite, but the high floral notes carried beautifully, and I plan to see how that spice would play well with black or spicy pepper or to attain an extended note.

One whole recipe gives you approximately 1,200 grams of dough. I divided it into four bowls with 300 grams each, rounding them off to get even weights. (The exact amount of each batch will vary depending how much dough you use for “quality control,” how hard you pack your brown sugar, the size of your eggs, etc.). Then I added proportionate amounts of spices, getting 15 cookies of each per cookie sheet. Label your baking parchment so you know which is which. These are mystery cookies. They all look the same, the first bite keeps you guessing, but by the second bite you know.

NOTE FROM SCOTT: That might even be a fun game. Make several versions with different spices, and then let the party figure out what’s what...

Let us know your favorites so we can give them a try. I might even get to try a few myself before the invisible cookie gremlins get hold of the dozen I left on the plate. Deaf, dumb and blind, thy name is husband of 30+ years.

Enjoy!

MAPLE DROP COOKIES – Americana at its finest

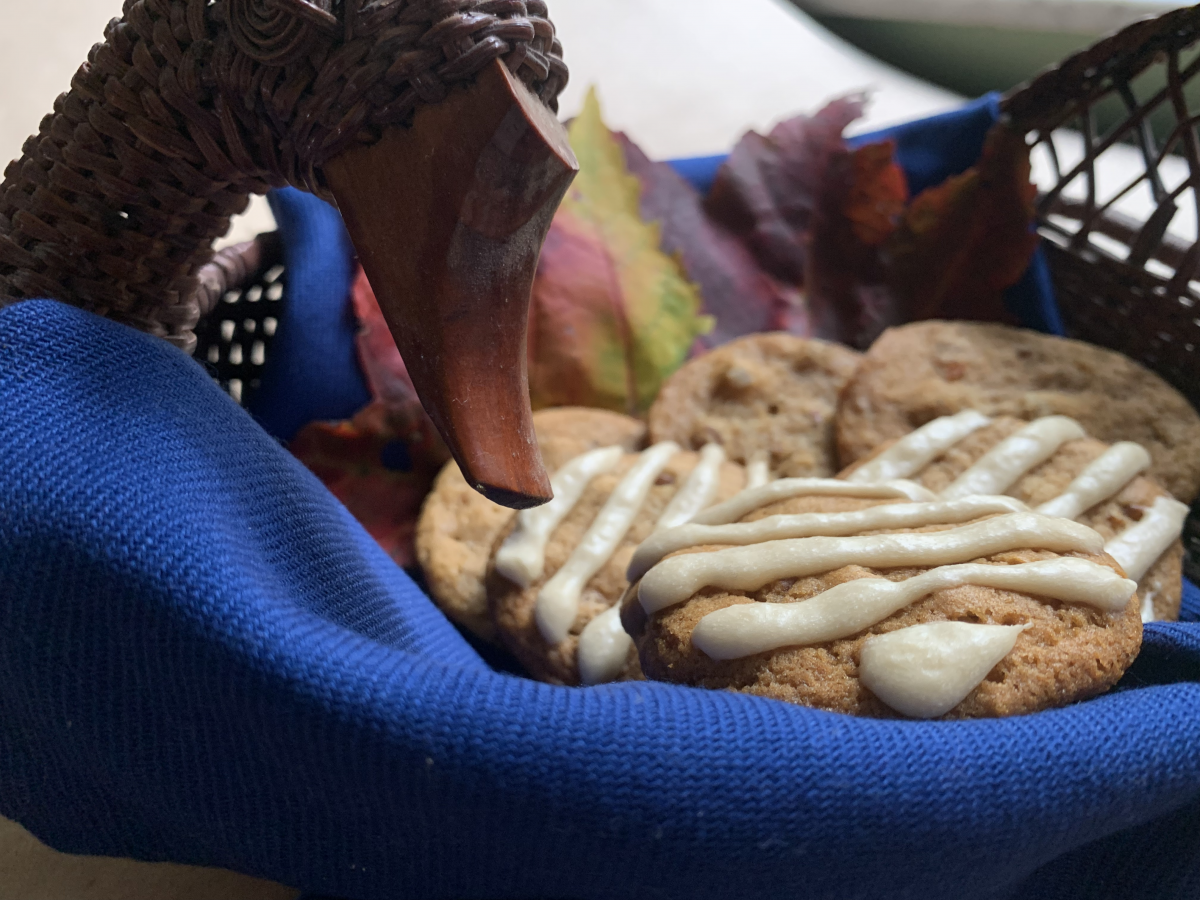
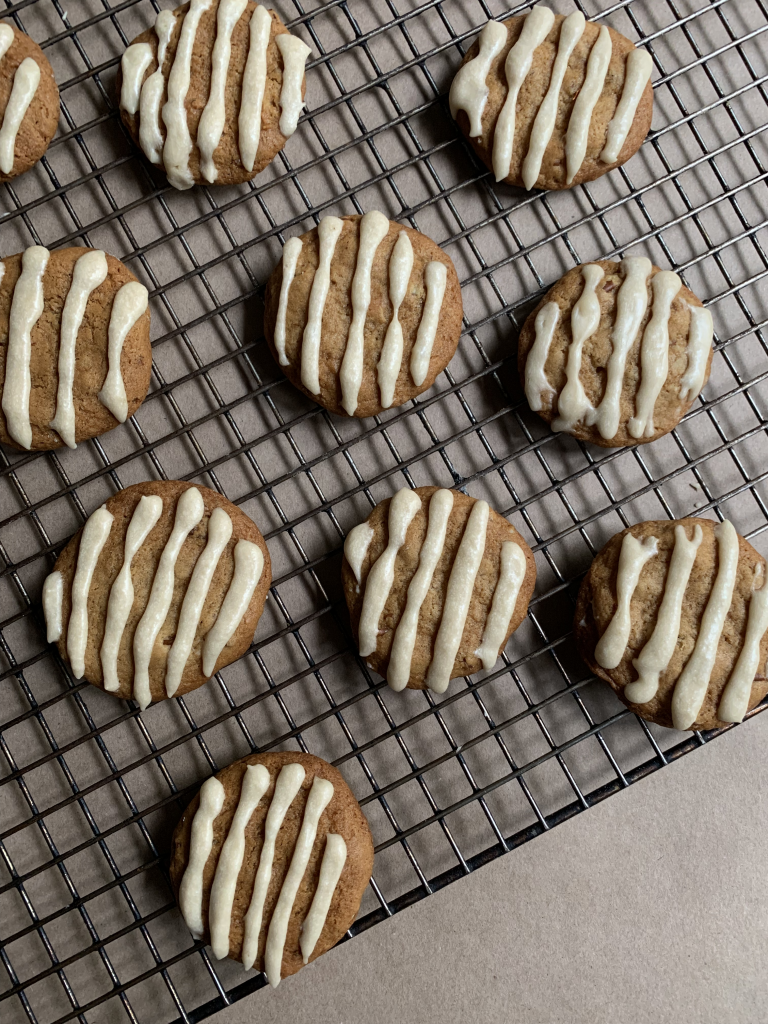
This is the cookie you see in every high end farmer’s market and orchard store across the country. Which is only proper! No one should ever buy a Halloween pumpkin without facing a maple cookie temptation. Alas, but many of those versions aren’t up to par and sometimes (gasp!) they aren’t even available. So here you go.

It is a simple enough recipe, but one that takes a lot of fidgeting to nail down just… exactly… right. This one’s nailed. Is it ever. The only thing to add are the nuggets of experience you’ll want for making your own adjustments.

1. Pecans and maple really do love each other as much as we always think. I tried the cookie with walnuts, and it worked, but it just wasn’t the same. A “7” instead of a “10”.

2. There’s no getting around the maple extract because syrup alone won’t provide the requisite oomph. I’d be curious to try a recipe with maple sugar, and even more curious to use the darker Grade B syrup, but neither are easy to find in my part of the country.

NOTE: We only use natural maple syrup in our house, and that is what we used in the testing. I have no idea how the cookie would work with the flavored corn syrup “artificial” version. Let us know if you do the experiment.

3. That final hit of maple high notes in the glaze/icing/frosting are what send this up to the next level. Don’t leave it out. These photos show a frosting, i.e. the thickest version, but that’s really just a matter of what you want.

NOTE: Give it 24 hours and the topping will dry out enough to pack in a tin without real worry.

4. We’ve gone back and forth on the salt level. My personal preference would be an extra quarter-teaspoon (call it a full 1 tsp. of kosher salt), but Kate thought that gave the cookies a little too much edge, especially before you add the topping.

5. Molasses really helps the flavor by broadening the base of the pyramid. Don’t be tempted to skip it. This amount translates to basically the same thing you’d get from using (a) dark brown sugar in place of the specified white, or (b) light brown sugar plus a single tablespoon of molasses.

That’s about it. Simple cookie, great flavor, with almost no fuss, muss, or bother. Enjoy!