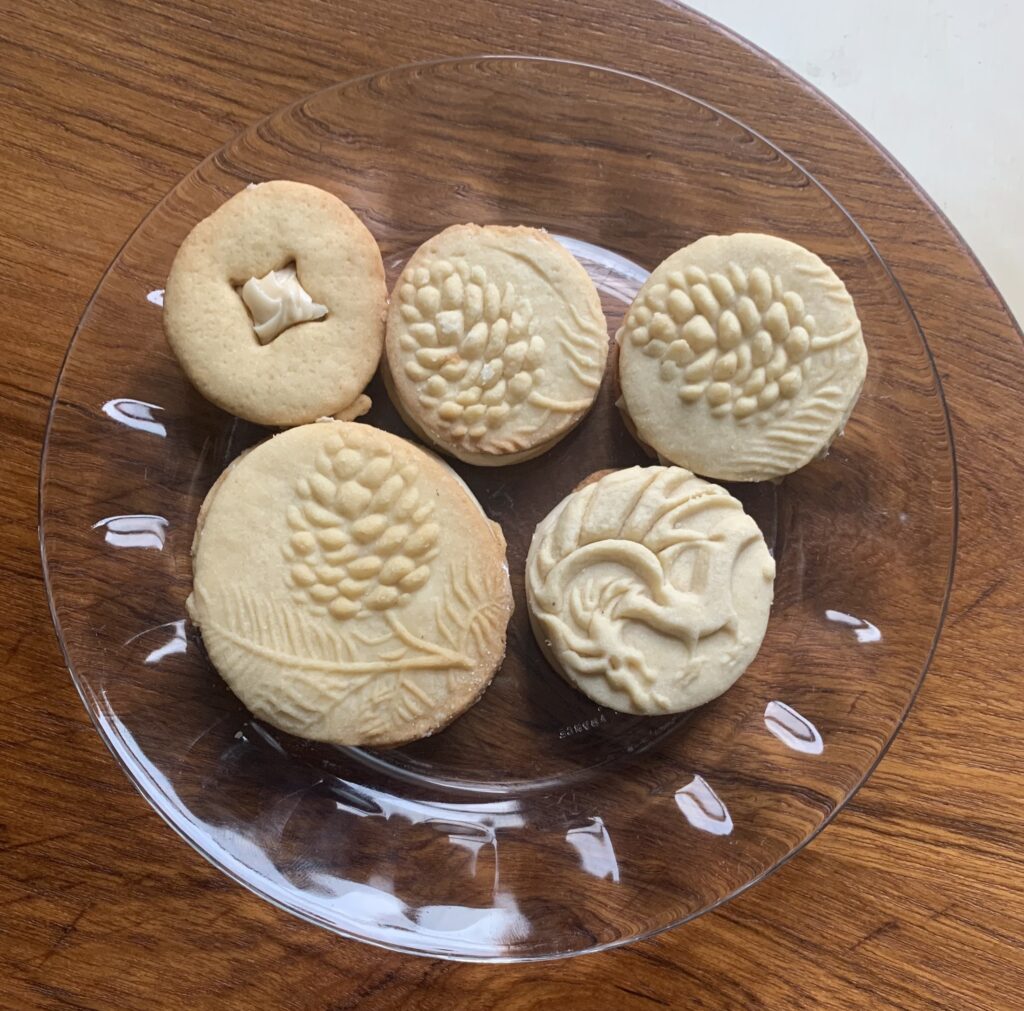
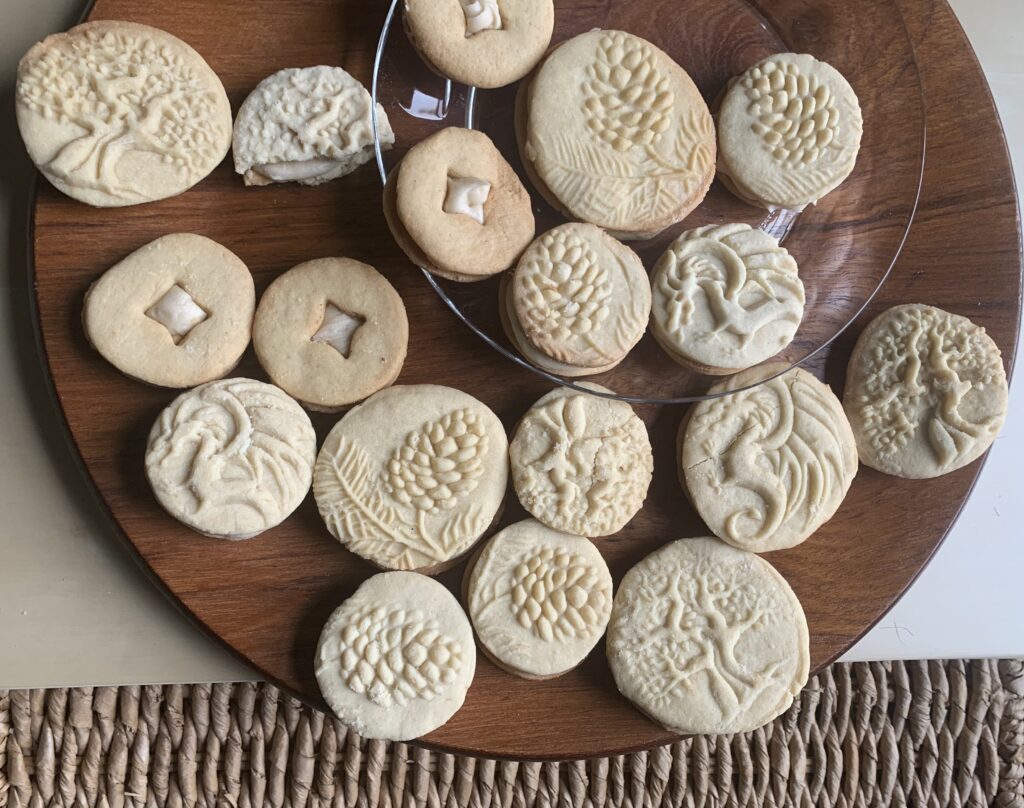
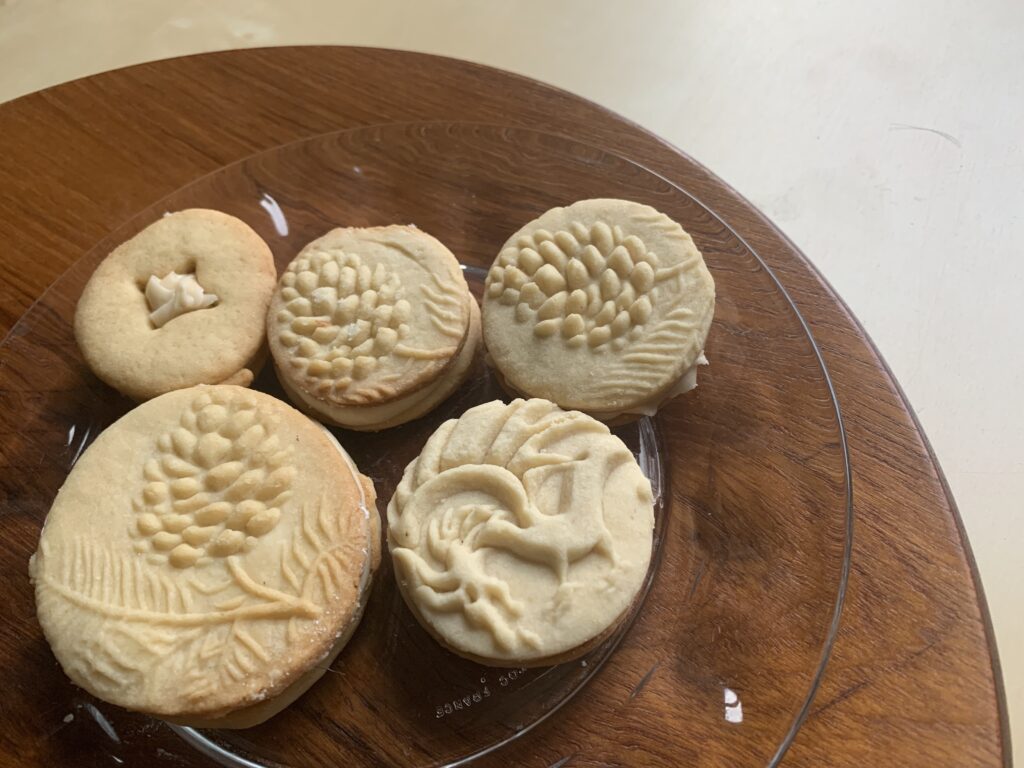
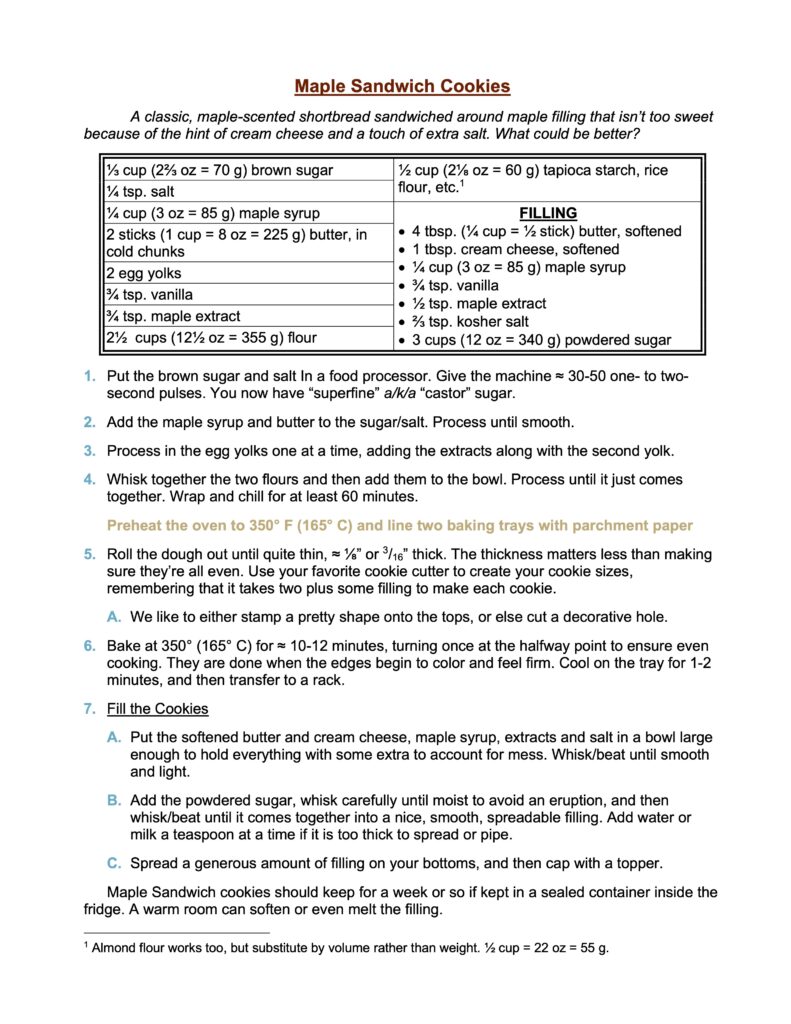
Alfajores: the legendary South American cookie of childhood formed from two tender, shortbread wafers that sandwich a rich caramel (dulce de leche) filling. Add a bit of maple flavor to the shortbread part, replace the filling with a rich maple buttercream, and you get a cookie that’s just as good, and almost equally loved across its range in North America.
Exceptionally pretty, and featuring a deep sweetness that hovers right on the line of “children adore it” and “adults can too,” this regional specialty is going to find its way into your repertoire and simply won’t leave once you see the children in your life squealing with glee. Just be aware that no child on the planet can resist snitching a few from a low lying jar, which means you’ll have to carefully be looking in another direct.
Perhaps with a plate of your while sipping nice cup of tee or coffee.
A NOTE FROM KATE: The cookie itself isn’t particularly sweet without the filling, which is a bit too sweet for my personal taste. Now, to be fair, this filling grew on me with every tweak. Still, my European alter-ego would like to point out that you don’t have to use all the sugar in the buttercream recipe.
I do agree that Maple Sandwich Cookies are a lovely addition to the fall repertoire, sans “pumpkin spice,” and make an enticing visual statement for both kids, and kids at heart.
Click here if you only want the recipe without the discussion
A few years back we published a wonderful recipe for easy Maple Drop Cookies. This is the upscale, extra pretty version: tender, maple flavored cookies sandwiched around an intensely maple filling. What could go wrong?
The answer proved to be nothing, though it did take a little bit of fidgeting to get the details just, exactly right.
The Cookie Part
Shortbread cookies a/k/a butter cookies mostly follow a standard set of proportions. Here’s a alphabetical list of examples normalized to the same two sticks of butter in this recipe:
Testing showed that we liked this cookie just a bit more tender than a standard Butter Jelly, but it was a close call. Feel free to substitute the specified mix of flour (2½ cups) and starch (½ cup) for a straight 2¾ cups of flour.
As to thickness, keep them thin if you want to make sandwich cookies and a little more robust if you want to skip the filling. Just remember to increase the baking time too! Thicker cookies need to bake longer, especially with doughs like this with a decent amount of starch. Starches stay pasty on the tongue until the inside gets hot enough to break down. The magic temperatures are about 130° for tapioca, 140° for potato starch, and 145° for cornstarch. We prefer tapioca because you can’t exactly probe your cookies with an instant read thermometer. The lower degradation temperature to provides an extra safety margin against pastiness. Note: We have no trouble finding affordable tapioca starch at any good Asian grocery.
The cookies are done when the edges begin to brown, which also means the bottoms will be what the pros call GBD (Golden Brown & Delicious). Those toasty notes pair exceptionally well with the maple and vanilla flavors inside the cookie itself.
NOTE FROM KATE: The GBD bottoms work just fine for thin-rolled cookies. IMHO, I wouldn’t mind getting the thicker, molded-pattern ones a bit toastier. Giving them an extra minute or two will make sure that all the starch is properly degraded by heat. This is especially important when you place a tray of molded cookies in the fridge. In fact, I think a slight hint of darker, well-toasted edge would play well against the sweet buttercream filling.
NOTE FROM SCOTT: I completely agree. And for those who don’t know, refrigerating molded cookies can help to keep the pictures clear.
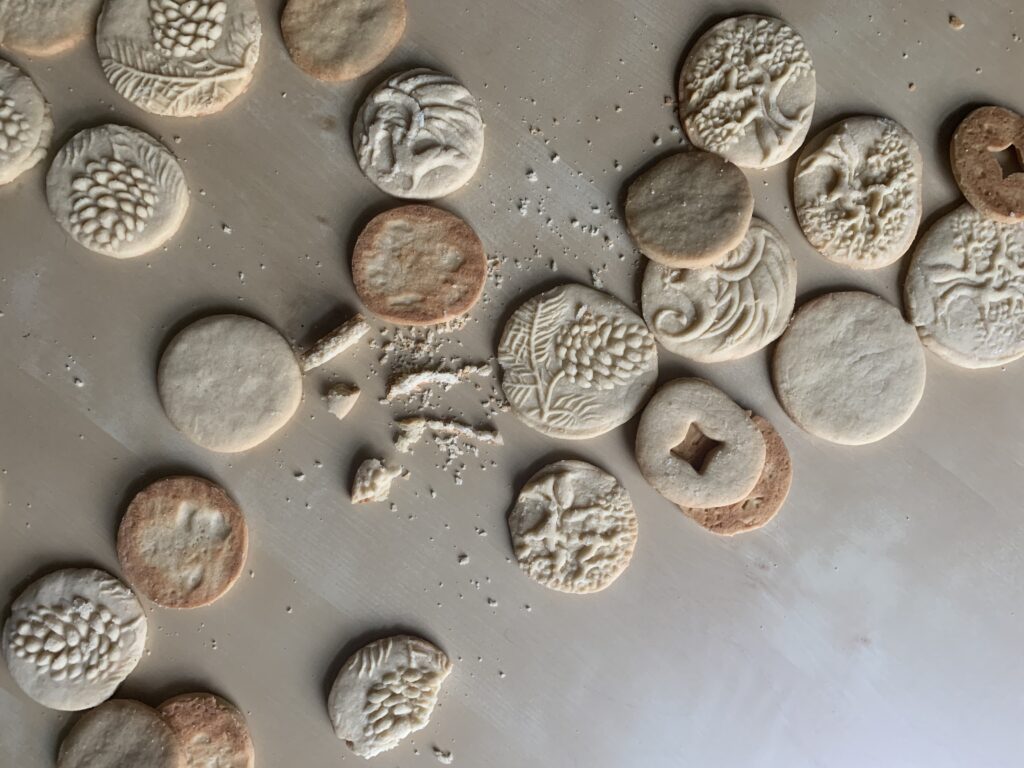
Next up: fancy touches, which turned out to be a lot of fun. This kind of shortbread holds its shape exceptionally well. They’re perfect for really fine cutouts on the sandwich caps, and even for patterns stamped into the dough. Have a look!
FWIW, we had more success stamping the dough first and then cutting it out. It would have been an ideal situation for using a patterned pin if we had one.
NOTE FROM KATE: This cookie holds its stamp well, but it didn’t do as well with very deep, molded cavities. It won’t be as forgiving as gingerbread, so make sure the dough is at a pleasantly cool temperature. You will also want to clean your molds between every stamping (we have a bowl of oil with a toothbrush, a bowl of starch with a powder brush, and a skewer on duty between each stamping.) For this cookie, it worked well to lightly dust the dough as well as the lightly-oiled mold. The type of your mold will also make a difference. Unlike with a hand-carved wooden mold or stamp, a laser-cut mold with sharp-angled features tends to cut all the way through the dough when pressed too hard. Use a gentle hand. In a larger production situation, I would roll the dough directly on the parchment, stamp the shapes, cut the rounds, and then remove the excess for reuse.
The Filling
Our standard buttercream filling uses half a stick of butter to three cups of powdered sugar, with whatever flavors you want added in. It’s dead reliable, thick enough to hold its shape, easy to thin as desired with a bit of milk or other liquid, and the heat characteristics are easy to understand. Butter gets soft at around 65° F (18° C), and so do these fillings.
In this case we started by simply adding in some maple syrup as the liquid. The texture was spot on, but the syrup made the filling a lot too sweet and a little too loose . Solution for the first: reduce the amount of syrup and add in some maple extract. [See Note below] This came close, but still edged over the line into the too-sweet-for-grownups realm.
Have three standard solutions for something that’s a bit too sweet: add salt, add acid, or add something bitter. Salt came first. I upped the amount from a healthy pinch all the way to ¾ tsp. That did the trick for me, but Kate said she could taste it. ⅔ tsp. proved to be the [ahem] sweet spot.
But the filling was still awfully sweet, and toed right up to the children-only line! It needed some extra help. Lemon didn’t seem to fit, so I decided to whisk in a tablespoon of cream cheese. Perfect! The extra mass tightened the filling that essential bit, and the mild acidity was enough to bring the sweetness under control.
TECHNICAL NOTE: Our go-to means of adding bitterness are molasses (also acidic), coffee, and chocolate. The molasses was tempting, but in the end we worried that it would have tried to steal the scene instead of playing a supporting role. [Additional Note: That observation all but demands a comment about molasses being a ham, but three decades of marital wisdom suggests that I might not get away with it. So never mind.]
NOTE FROM KATE: He thought he got away with it. That’s…kind of adorable, and really sweet! Just like these cookies!
Concerning Maple Syrup…
“Pancake syrup” is basically corn syrup with coloring and maple extract. I have nothing against that on some philosophical level, but it would substitute for extract rather than syrup in baked goods. All the cookies we make use real maple syrup.
But that doesn’t end the story, because real maple syrup comes in several grades that basically correspond to the time of year it’s tapped out of the tree. Think of it as analogous to the change from veal to beef, or lamb to mutton: the syrup becomes progressively darker and more intense as the season moves on. We would have loved to try some extra-dark syrup in these cookies, with less extract, but simply don’t have access. If you do, please do, and let us know the results.
Note that syrup “grades” don’t really help because it is an industry term. The only law on point comes from the USDA’s Grade A vs. Processing Grade vs. Substandard. You and I never see anything but Grade A according to that definition.
The industry used to divide the color/flavor lines using the same letter grades with different meanings, going from lightest (Grade A) to darkest (Grade C), but that made consumers perceive the darker colors as inferior. As of this writing the industry has adopted color descriptions instead of grades. Vermont’s industry page describes them like this:
- Golden color with delicate taste
- Amber color with rich taste
- Dark color with robust taste [used in this testing]; and
- Very Dark color with strong taste.
The Canadians follow suit, though they often grade by “colour” instead of “color;” except when marketing to the U.S.
Storage
Unfilled cookies should keep for a solid week in a cookie tin or other airtight container. Freeze for longer storage.
Filled cookies, and unused filling, will start to get soft if kept above 60° F (18° C), which equates to a chilly room. We prefer to use the refrigerator for convenience, but take extra air to have an airtight container lest the filling absorb flavor from some garlicky pasta in the bowl next door.
I believe the filled cookies can also be frozen, but haven’t tested it yet.
CONCLUSION
That’s a lot of detail, but it all adds up to common sense for any experienced baker. The recipe is for a simple, maple flavored shortbread, and an even simpler maple buttercream. Put the two together and you have maple nirvana. There’s a whole lot worse you can find in this world of ours. And very little that tastes a whole lot better.
P.S. We had some filling left over from the photo shoot, and a few Gingerbread cookies from another project. I combined the two on a lark and… Goodness Gracious and My Oh My! This maple filling loves, Loves, LOVES to be paired with spice cookies! It’s so good that I may well sneak some onto this year’s extravaganza tray. Make an extra batch of Ginger Snaps without the sugar crust, combine with the maple filling… Oh yes. This could definitely be a thing.
Enjoy!