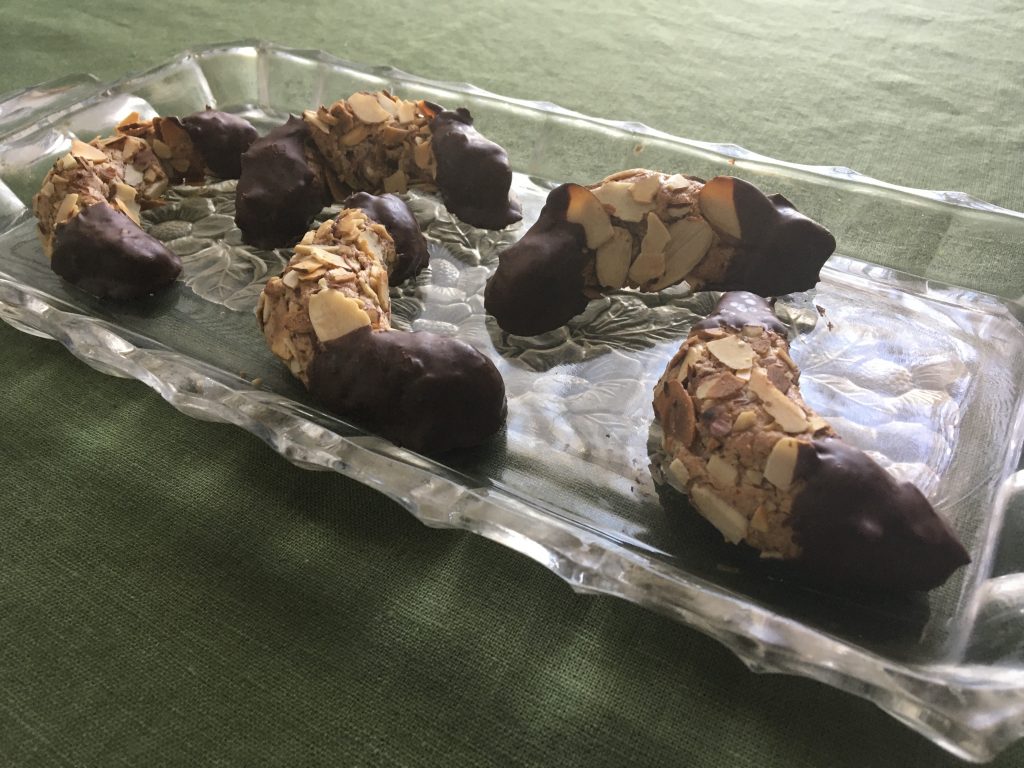
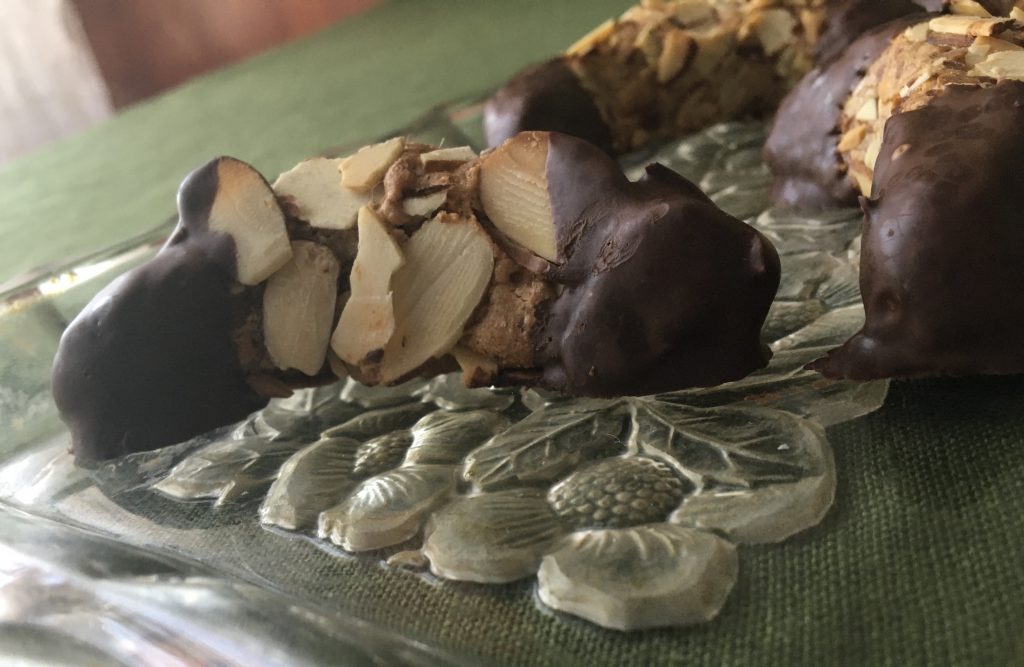
Here’s a recipe that many readers will know because they’re very popular at certain upscale supermarkets. They have a lot going for them, starting with a very pure hit of almond and chocolate (two flavors that love each other), and continuing through the fact that they’re naturally gluten- and dairy-free, which suits a lot of people with allergy problems. They’re also very generous and fairly dense, which means that anyone who’s willing to eat baked goods for breakfast can get by with 2-3 “cookies” and a nice cup of Joe. (A meal that Scott has admittedly enjoyed as he writes this article).
The other benefit? Almond Horns are incredibly easy to make. The basic recipe couldn’t be simpler: (1) put everything in a food processor; (2) grind until it’s smooth and begins to ball up; (3) roll each piece in almond flakes; (4) bake; and (5) coat the horns or bottom with chocolate. The issues come up with the little details that avoid problems in each of those steps.
As always, please skip to the bottom if you are only here for the recipe.
Step 1 – Choices About Ingredients
Classic European recipes typically start from Marzipan rather than working from scratch. Take Marzipan, blend with egg white(s) to loosen it up, and you’re basically there. Convenience cookies!
Marzipan isn’t as common in the U.S., costs more, and the different brands vary in their dedication to the cult of sugar and the abuse of almond extract. We’re also a nation of people who take food processors for granted. That tool converts Marzipan from a painstaking process into a walk in the park. If cooking from scratch is cheaper, just as easy, more reliable, easier to customize, and lets you use a little less sugar… well, cook from scratch.
We recommend that you start from almond meal because it’s become easy to obtain and ensures an even result. In the ideal world you’d start from whole or slivered almonds, toast them to enhance the natural flavor, and then reduce that to meal during the grinding stage. It’s really up to you. But from one obsessive purist to another? We just get the almond meal. There’s so much extract that the toasted flavors get lost anyway.
Step 2 – Grind It All Together
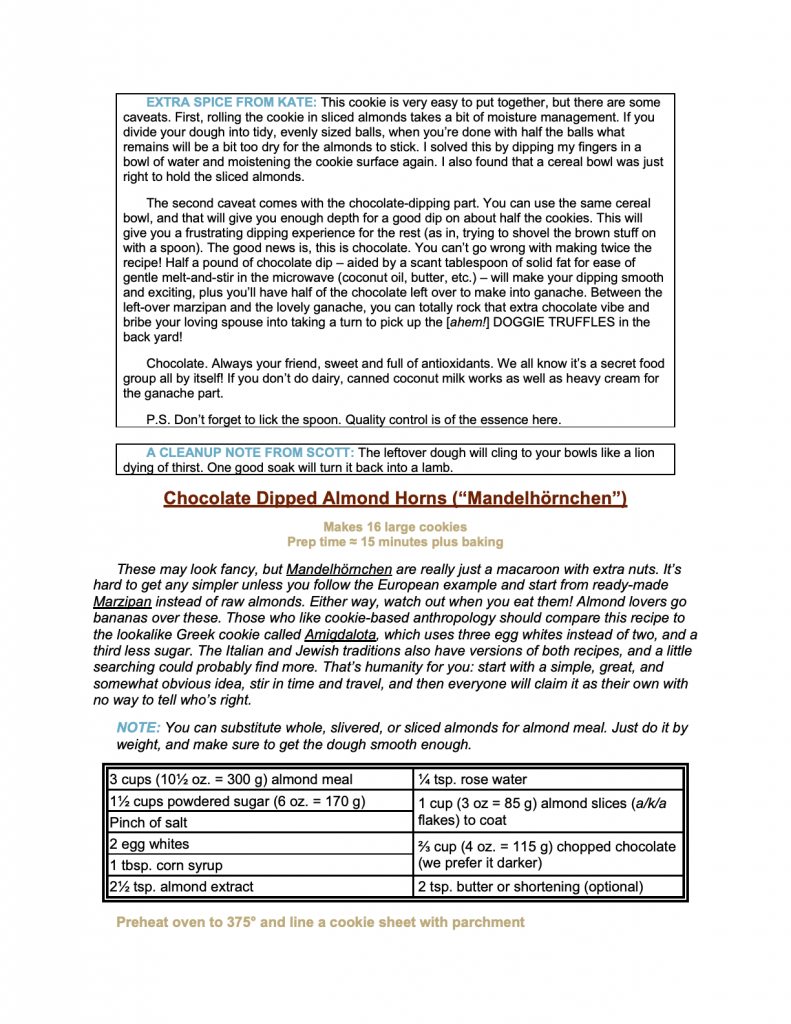
No kidding. That’s all you do. Put everything in the machine except your coatings (toasted almond flakes and chocolate). Process, scraping down the sides from time to time, until it comes together into a smooth dough that balls up around the blade. Done.
That couldn’t be any easier, but there are a couple of tricks because the dough changes with (a) your kitchen’s level of humidity, and (b) whether your Size Large egg whites are closer to mediums or closer to XL’s. They do vary within each range you know. It isn’t a problem if you keep the target in mind: “Dough that is just sticky enough to hold on to toasted almond flakes.” Too sticky and it will be hard to work with. Not sticky enough, and your coating will fall off.
- If the mixture seems too dry, add in a tablespoon or two of water. This happens every time in a Pittsburgh winter, and almost never in our summers.
- If the mixture seems too sticky, add a tablespoon or two of extra almond meal. Extra sugar works too.
For what it’s worth, we actually get a kick out of these little customizing steps. They make you feel like a Real Expert who knows the secret cheat codes.
Step 3 – Form the Cookies
A few of those secret codes make this step just as easy.
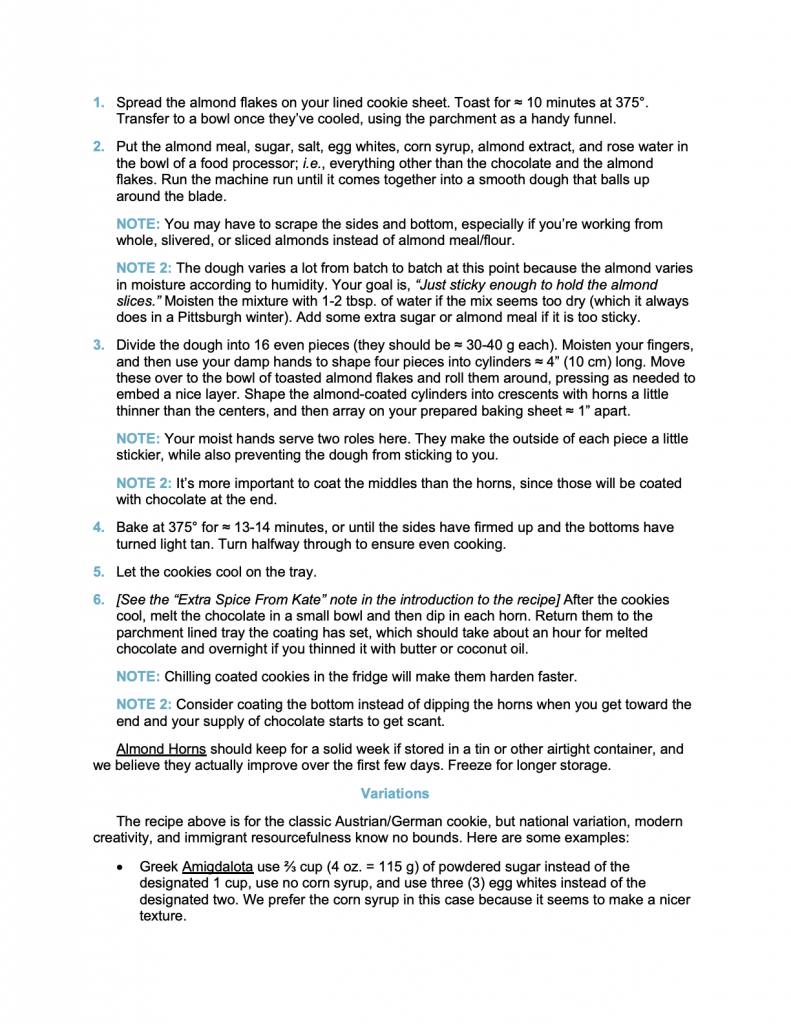
- First, remember that most people make these into large, 4-5 bite treats. One recipe makes enough for 16.
That’s not a coincidental number because you get there by cutting the dough in half, then each half in half four more times. If you want smaller cookies, cut the initial piece into thirds and then proceed to halve them over and over. This will get you to 24.
- Second, moisten your fingers and palms before you form each cookie. That will keep the dough from sticking to your hands, and also make the surface extra sticky for holding on to the almond flakes.
Better for you, and better for the cookies. You’ll need to wet your hands several times before all the pieces are done.
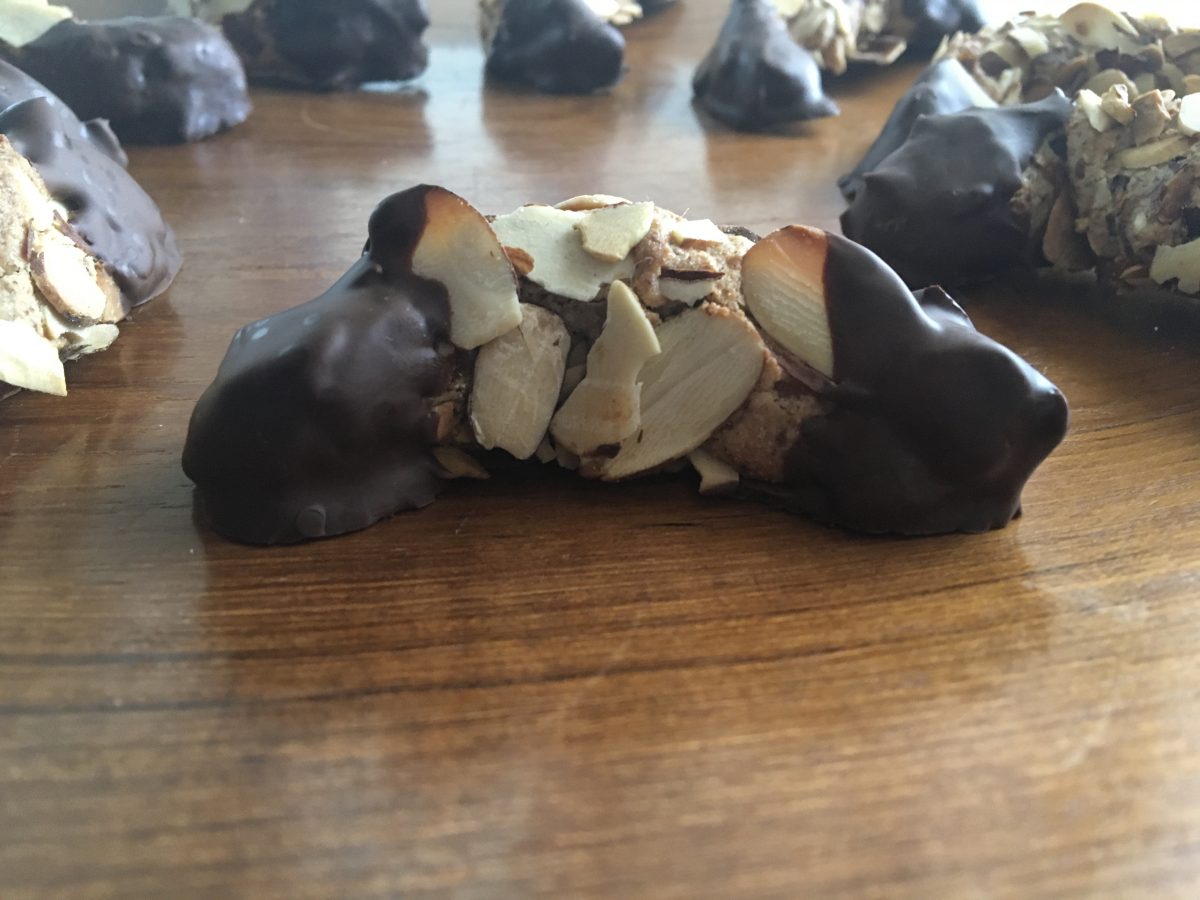
- Third, form each dough piece into a short, fat sausage as thick as you want the middle of your cookie to be. Roll this cylinder in the toasted almond flakes, and then pinch/curve the ends to form your crescents.
Cylinders are much easier to work with at the rolling stage, and you do not need as many almonds on the ends anyway because they will get coated in chocolate. Yes, you can just make a longer, thinner sausage, roll that, and bend it into a “C”. And yes, it is a little easier. We prefer the result from crescents; they have a texture that changes as you nibble through each treat.
Step 4 – Bake
375° is just hot enough to get a few of the almond edges extra toasty. A nice touch. As always, you want to pay more attention to the aroma and texture than the actual time. They are done when the sides firm up and the bottoms have turned light tan. It’s taken a consistent 13-14 minutes during winter testing in Pittsburgh with our oven. Please let us know if your results vary.
We also encourage you to spin these trays halfway through to ensure even cooking. We usually don’t bother with that step unless we’re dealing with wafers, but for some reason this particular cookie has been sensitive to hot spots.
Step 5 – Coat The Ends With Chocolate
This is the one step in the recipe that creates some frustration. It comes from two problems. First, the chocolate will harden as you work. And second, you won’t have enough chocolate in your bowl to dip the ends when you get to the final few pieces.
You can solve the chocolate problem by either keeping it warm, or mixing in a small amount of fat. Scott prefers to use plain chocolate, and to keep zapping it in the microwave for very short bursts as needed. Kate, who did most of the chocolate work, suggests adulteration – with the proviso that you must use a fat hardens at room temperature. Coconut oil works but can add some flavor. Palm oil has the perfect characteristics but is evil. She recommends butter or shortening, whisked into carefully melted chocolate. The resulting chocolate dip can be extra sticky at room temperature and takes a while to harden, but it is easy to work with. Your mileage may vary.
The problem of what to do toward the end takes more thought, and there is no really good answer. If you want the chocolate supply to end on the final cookie, you won’t have a deep enough pool to actually dip the horns of the last two pieces. Careful work with a spoon can help, but it only goes so far. Either you need to make/waste extra chocolate dip, or you need a cheat code.
Scott offers this workaround: Don’t try to dip the horns on your final piece. Coat the entire bottom with your leftover chocolate instead. It creates a more uniform treat that’s a little less intriguing to look at, and has less contrast when you eat it, but it does have the benefit of giving every bite a little bit of chocolate. Brush all the bottoms with chocolate if you want every piece to be the same.
Kate rolls her eyes at that, and says you should simply make enough chocolate to do the dipping and be done with it. Leftover chocolate makes a wonderful ganache for truffles, or at worst a special treat for the first lucky passerby who can find a spoon. You, of course, are a mature, fully grown person with the control to inflict those treats on someone else.
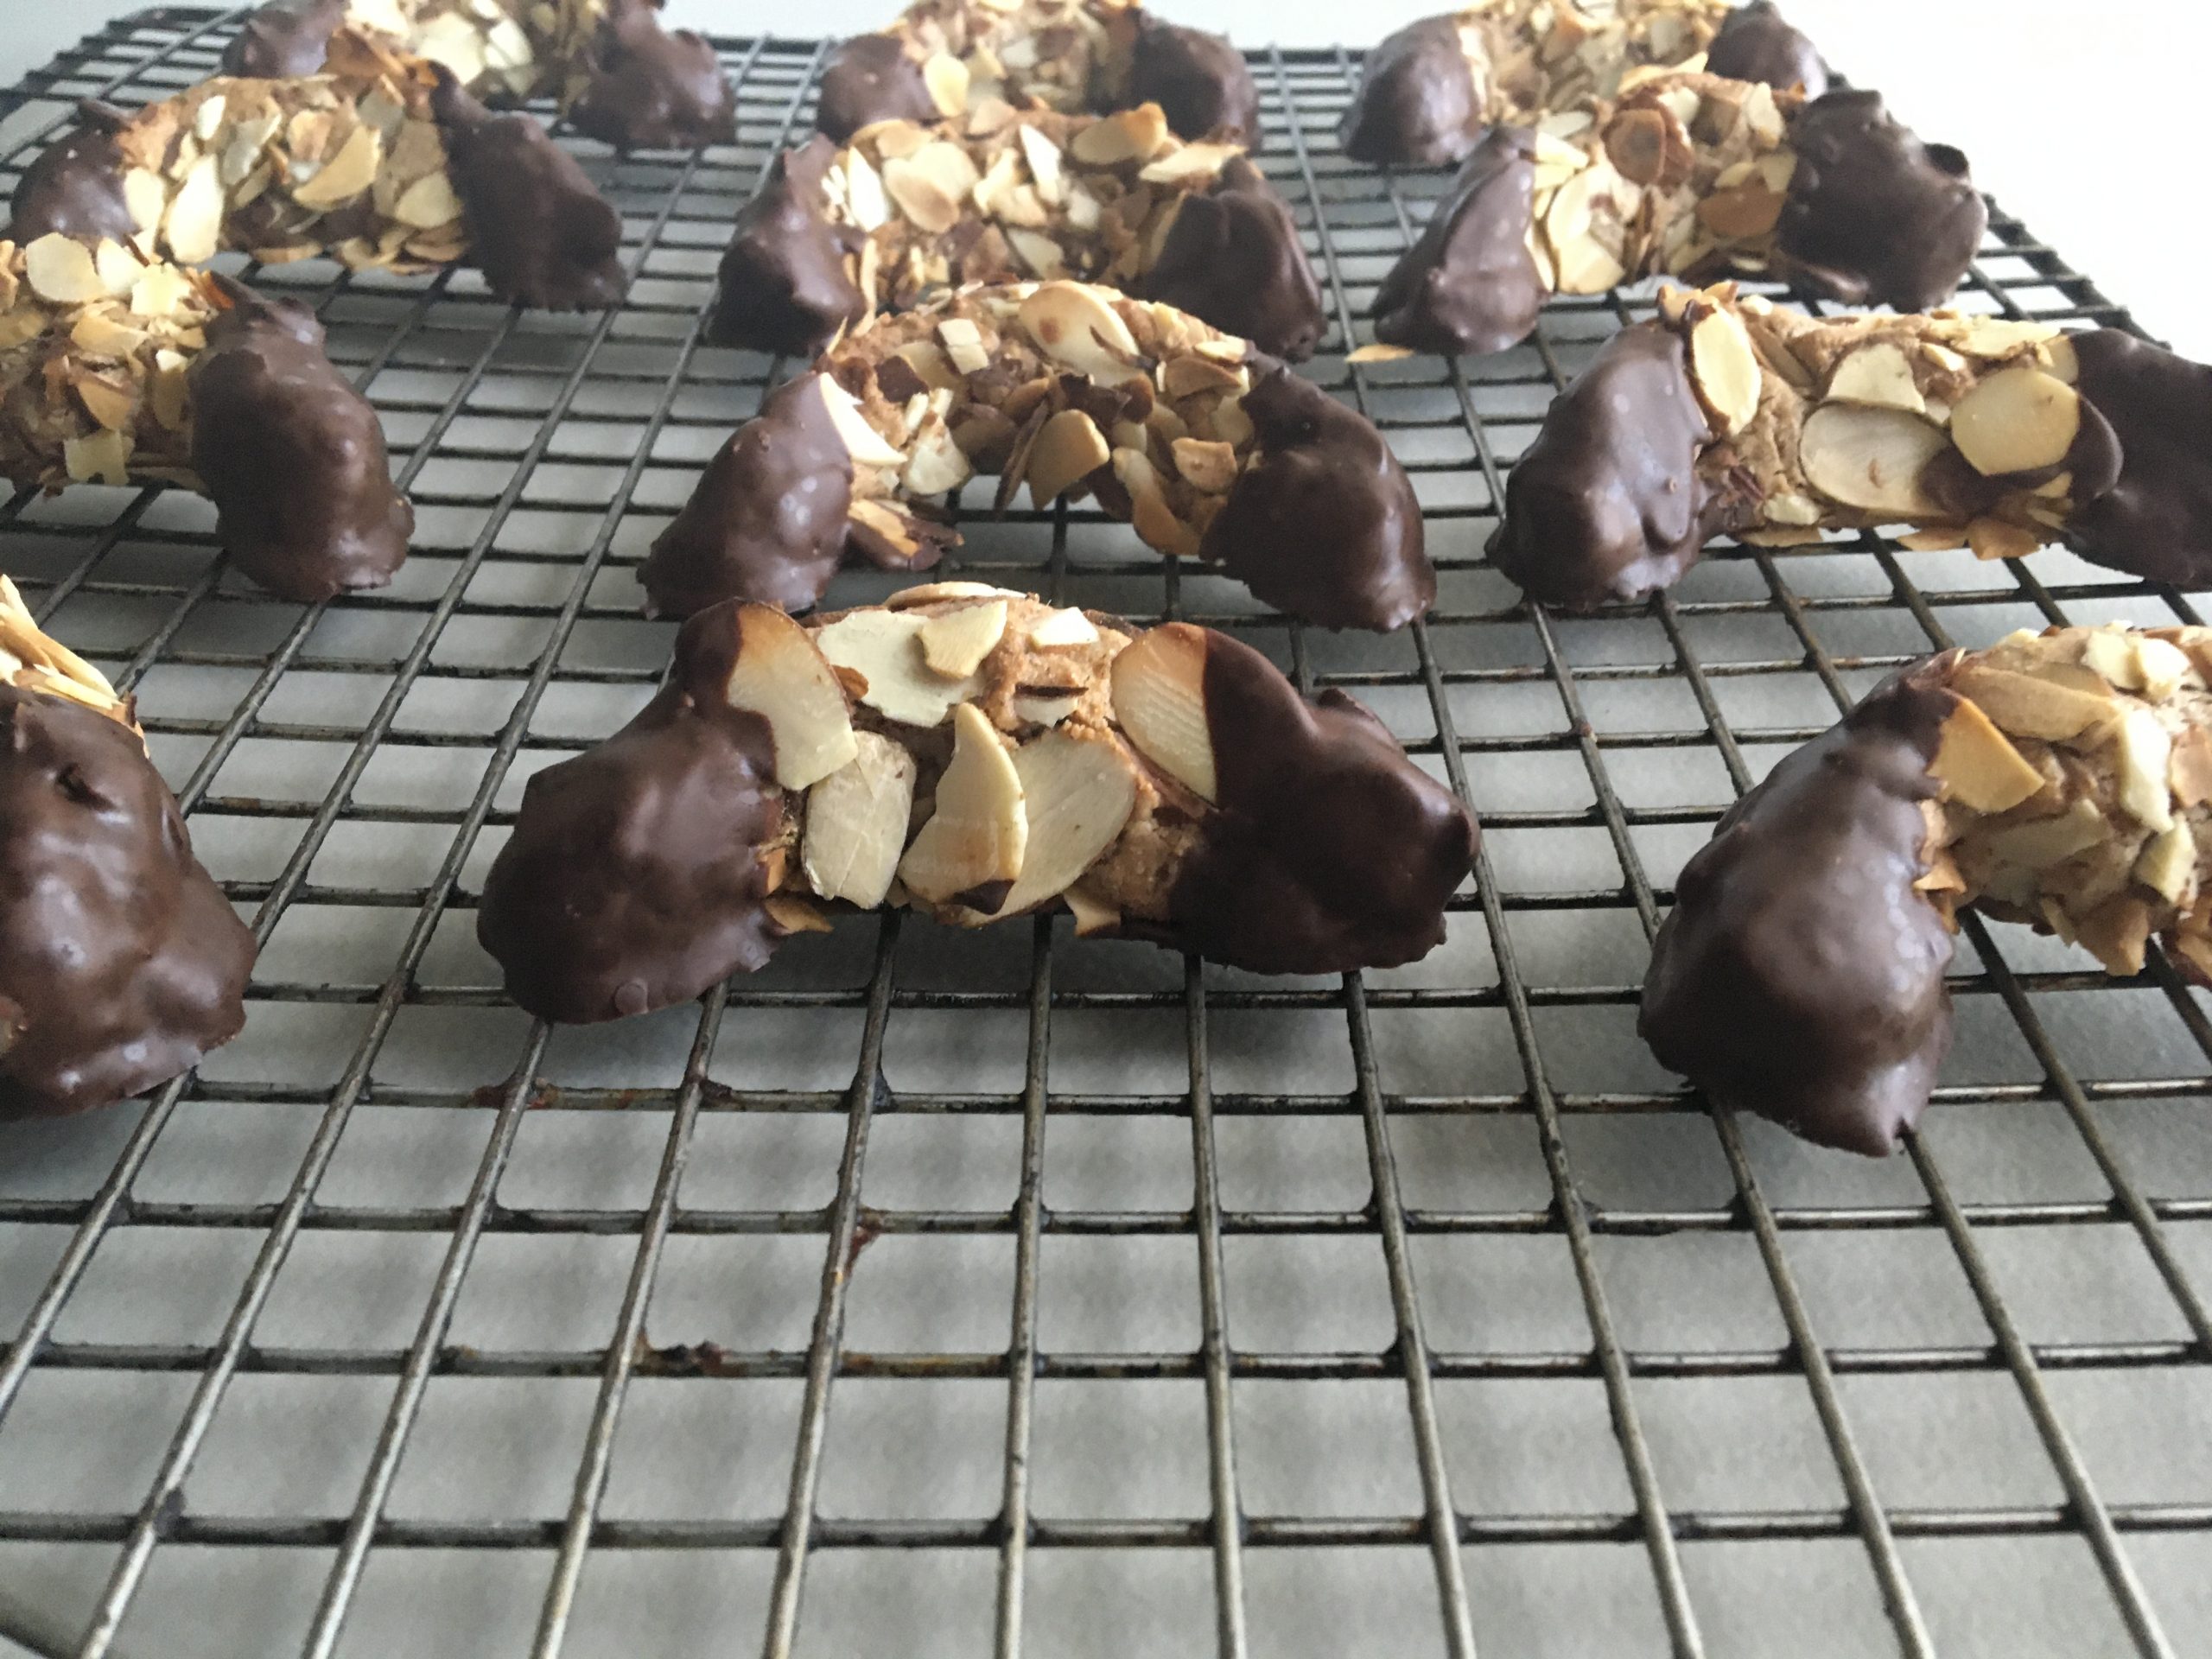
Cool and Consume – The End… Until Next Time
Mandelhörnchen are one of those treats that become a baker’s signature offering to guests, grandchildren, and drama club bake sales alike. They’re so very big! Physically, in taste, in texture, and in ways that combine to be more than the sum of their parts. They also show off familiar flavors, and they taste exactly like people think they will, except more so. There’s a huge bang for the buck factor.
Plus they’re fun and easy to make once you internalize those little tricks: keep your hands moist when shaping, and accept that there’s only so much chocolate to go around.
This is a marvelous recipe that you’re really going to treasure. We Promise. Enjoy!